Introduction: Why This Playbook Works 💡
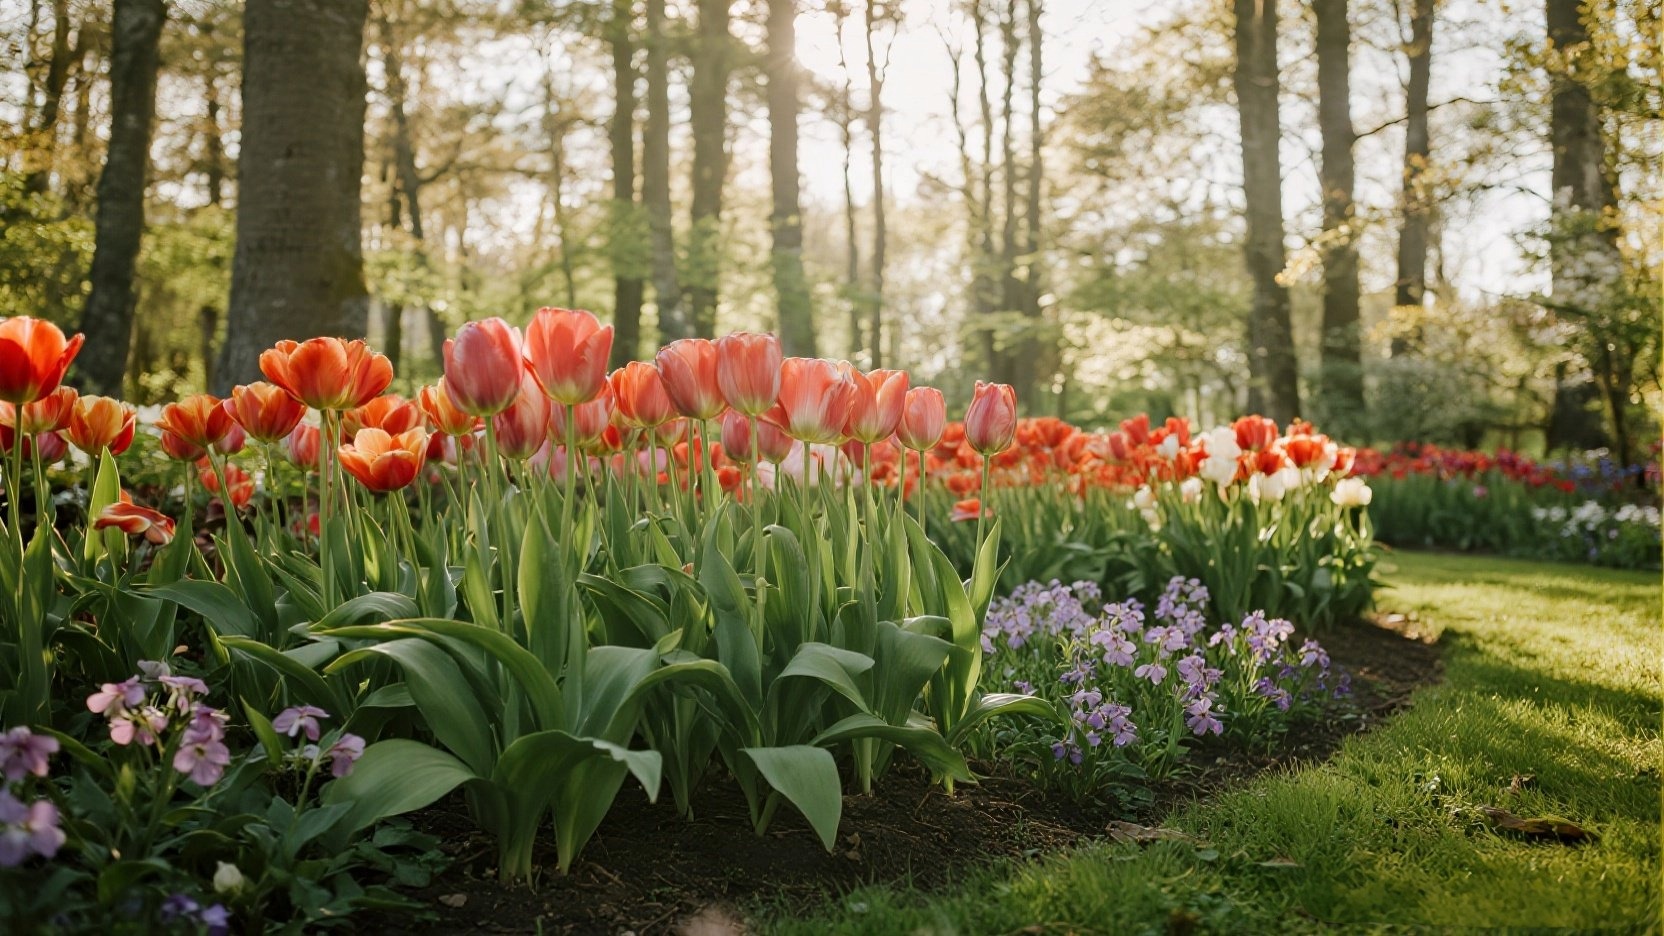
Starting tulips is easier when you treat it like a recipe—right season, right depth, right spacing. This playbook simplifies timing, soil, and critter-proofing so beginners avoid the most common failures. Follow the steps, and you’ll set bulbs once in fall and enjoy effortless color in spring.
Tulips need cool roots to form strong blooms, so fall is your one-time setup window. Think of bulbs as tiny batteries that charge all winter underground. Give them the conditions they like now, then let nature do the work.
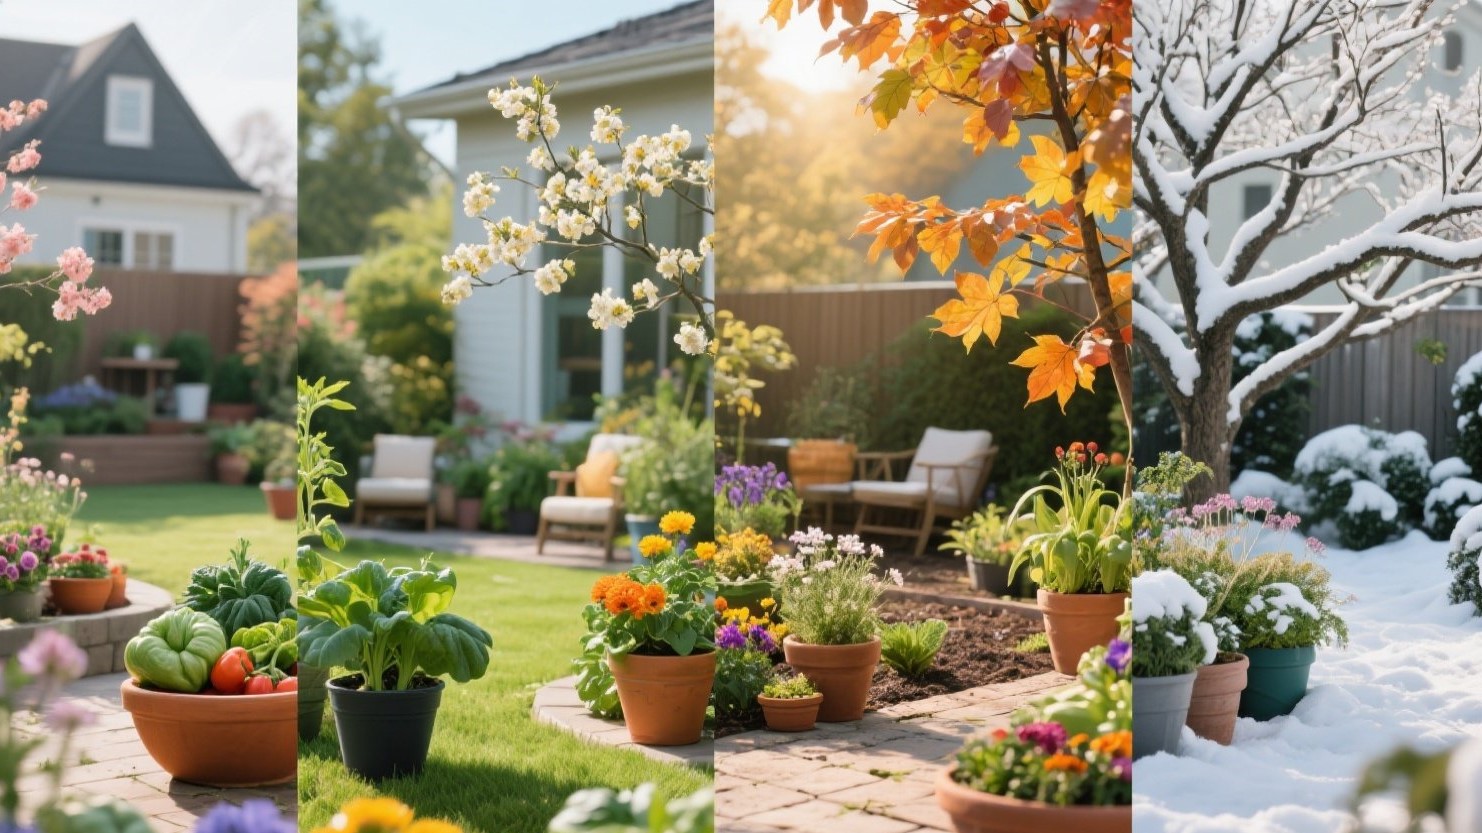
When to Plant (Why Fall Matters; Quick Zone Notes) 🍂
Tulips initiate roots in cool soil (about 7–13°C / 45–55°F), so plant when nights consistently feel chilly. In USDA Zones 3–5, plant from late September to October; Zones 6–7, October to November. Zones 8–9 should pre-chill bulbs 10–14 weeks in the fridge (away from fruit) and plant late fall to early winter; Zones 10–11 almost always require pre-chilled bulbs.
Planting after a hard frost is fine, but avoid ground that’s already frozen solid. If your fall runs warm, prioritize pre-chilled bulbs and pick the coolest micro-spot (north side of a building). Mark your calendar the day you chill bulbs to ensure they hit their “cold hours” target.
Depth/Spacing Rules That Just Work (And Why Deeper Often Helps) 📏
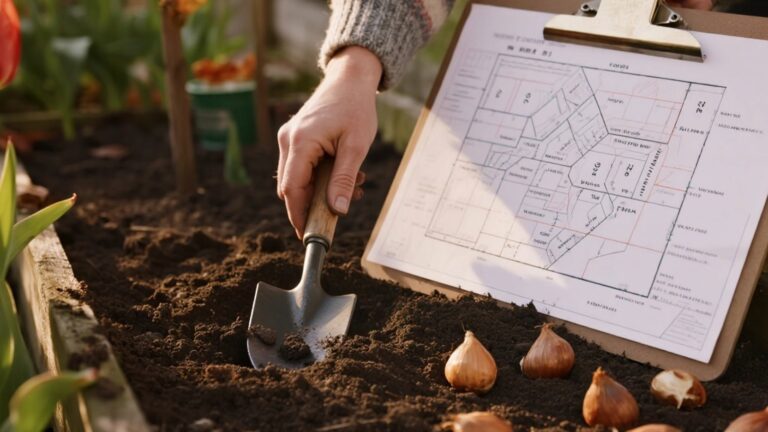
Use the “3× rule”: plant at a depth about three times the bulb’s height—typically 6–8 inches (15–20 cm) to the bulb’s base. Space bulbs 4–6 inches (10–15 cm) apart for classic bedding; go 3–4 inches (8–10 cm) for fuller, bouquet-style displays. Pointy end up, flat basal plate down—this orientation matters for strong stems.
Deeper planting helps in two ways: it buffers temperature swings and deters pests from sniffing them out. It also stabilizes stems, reducing “flop” in windy springs. If your soil is very light or sandy, go to the deeper end of the range for moisture retention.

Soil + Drainage Check (Simple Squeeze Test + Raised-Bed Fallback) 🧪
Do a 10-second squeeze test: moisten a handful of soil, squeeze, and open your palm. If it forms a loose crumb that breaks with a tap, you’re good; if it stays a slimy ball, drainage is poor. Tulips hate wet feet, so improve texture with compost plus coarse material (pine bark fines or grit).
If your site puddles after rain, switch to a raised bed or large container with drainage holes. Aim for a mixture that’s friable and airy—think “cake crumbs,” not “pudding.” A 2–3 inch (5–7 cm) bark or shredded leaf mulch finishes the bed and conserves moisture without sealing the surface.

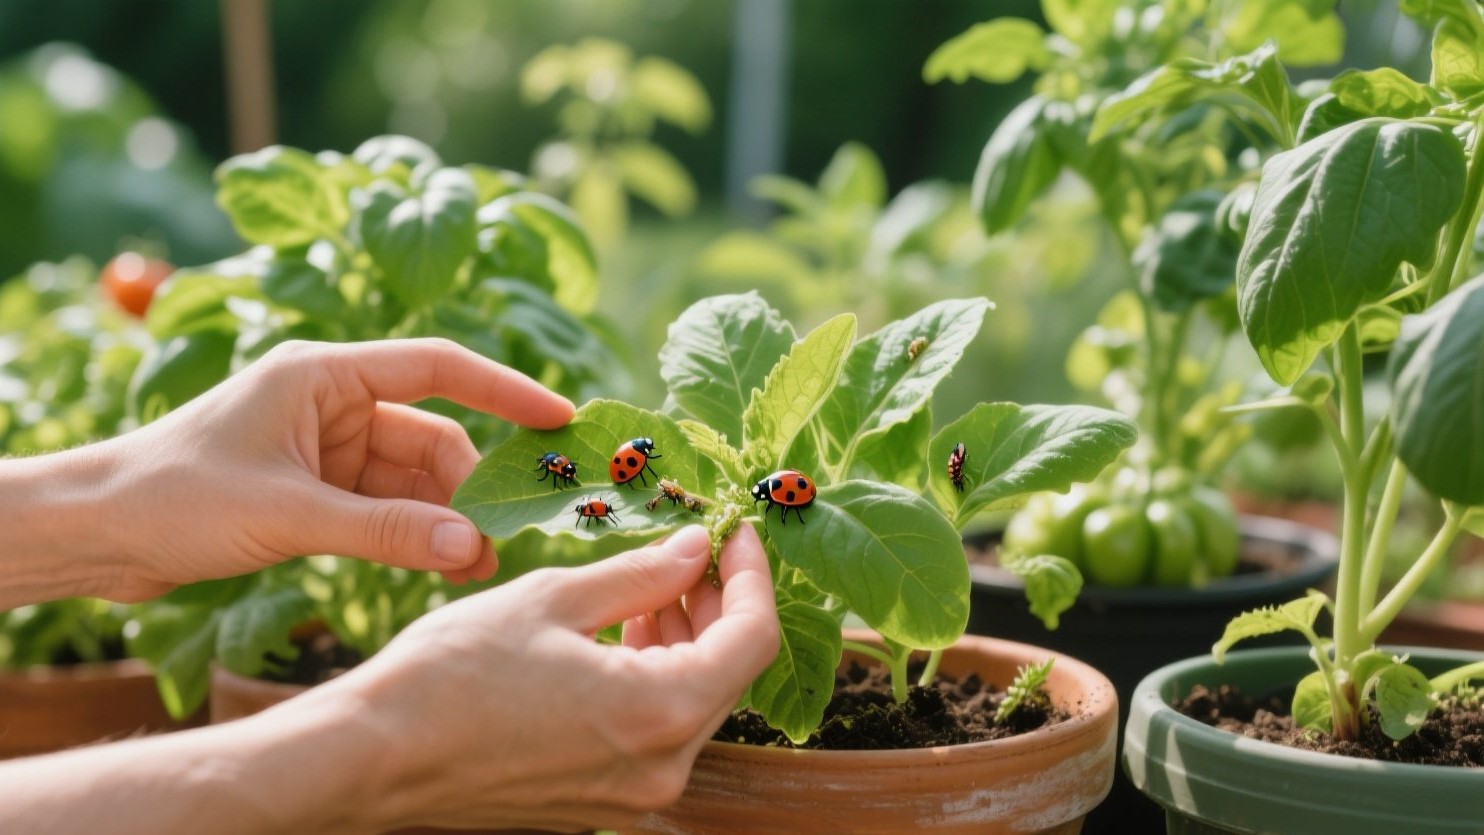
Squirrel/Vole Prevention (Netting, Location, Clean Backfill) 🐿️
Critters hunt by scent and disturbed soil, so backfill cleanly and tamp lightly to erase “dinner bells.” Water once to settle soil, then add a thin mulch—no food scraps, bone meal, or tulip skins on the surface. If raiding is common, lay hardware cloth (¼-inch mesh) flat over the bed and pin it down until the ground freezes.
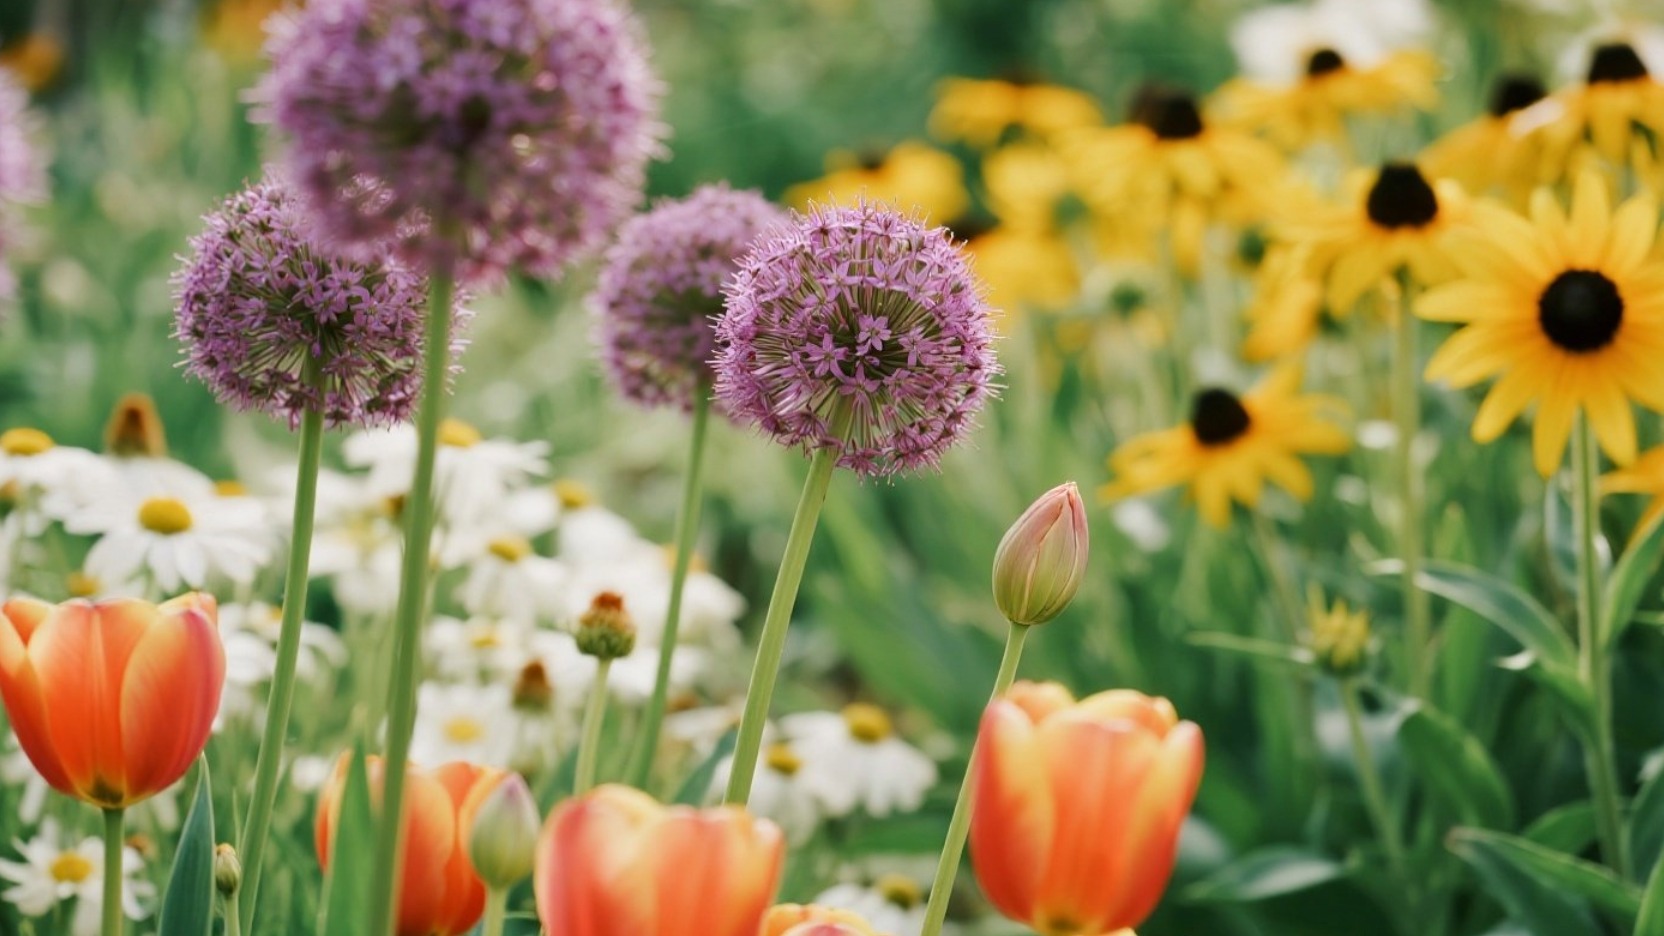
Where you plant matters: avoid feeding stations, compost corners, or habitual squirrel highways. In vole zones, consider bulb cages or mix in deterrent bulbs (alliums, fritillaria) around tulip pockets. For containers, a snug wire lid or heavy decorative grate keeps noses out without sacrificing style.

Post-Plant Care: Water Once, Then Mostly Ignore Until Spring 💧
After planting, water thoroughly one time to settle soil around the bulbs. In normal rainfall areas, that’s all—do not keep them wet. The goal is cool and evenly moist, never soggy, through winter.
Mark the bed so you don’t disturb it with winter clean-ups. In late winter, remove any temporary mesh before shoots emerge. When leaves are up, feed once with a balanced, slow-release fertilizer at label rates; let foliage yellow naturally to recharge the bulb.

Quick Starter Checklist ✅
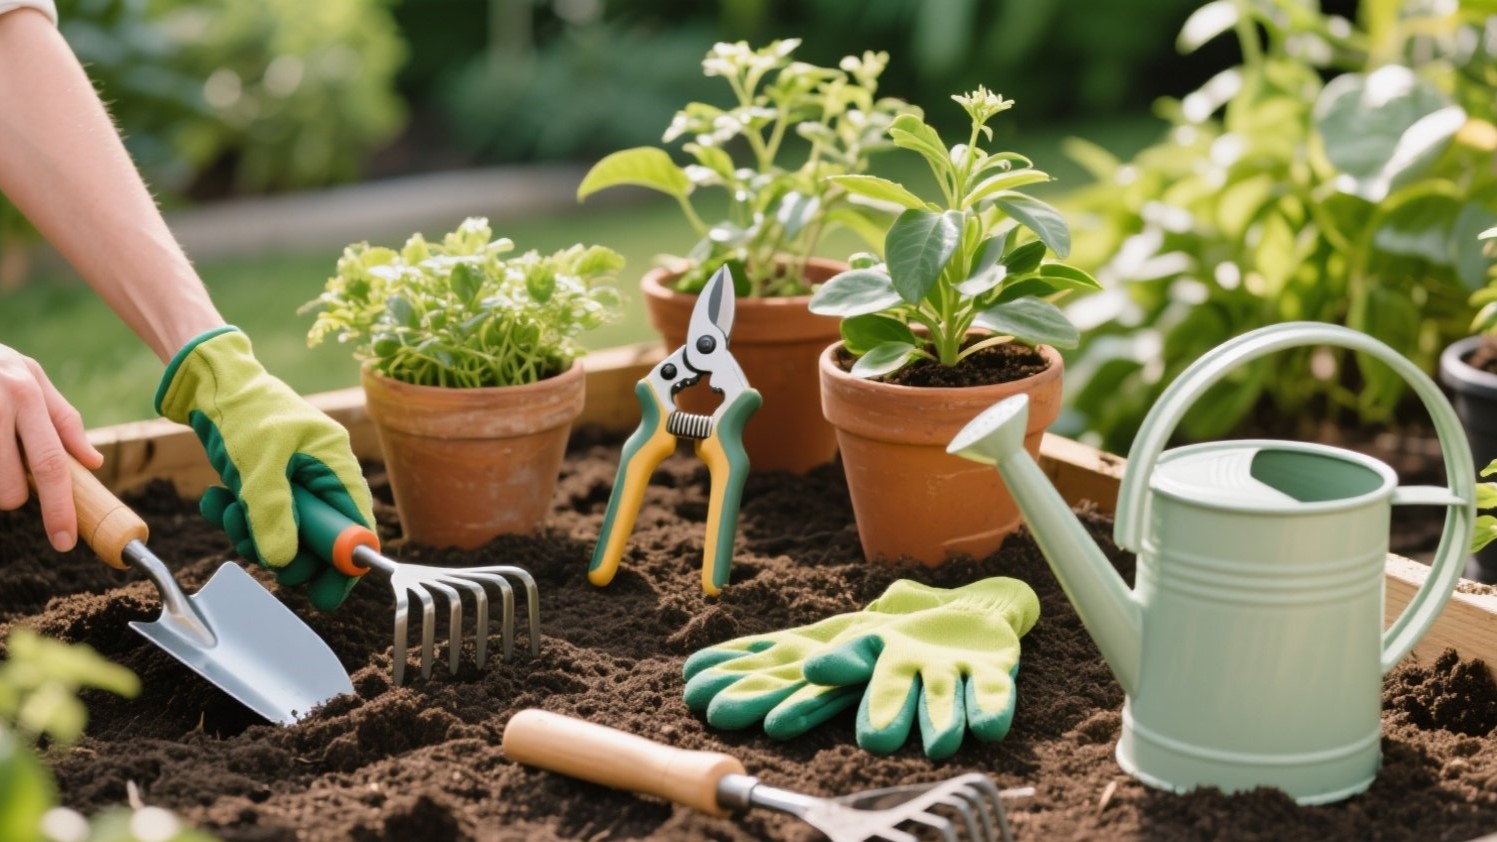
Pick your planting week based on your zone and night temps. Pre-chill if you’re in warm zones and set a reminder. Gather tools: trowel, tape, compost, grit, mulch, mesh.
Dig to 6–8 inches with 4–6 inch spacing, pointy end up. Backfill cleanly, water once, and cover with a light mulch. Add mesh where critters are bold; remove it before shoots break ground.
Conclusion: Plant Once, Enjoy for Months 🌈
Tulips reward a single fall afternoon with weeks of spring color. Your best insurance is cool-season timing, consistent depth, and tidy finishes that hide scent trails. Do these small things right, and your first tulips will look like you’ve been gardening for years.
When the blooms fade, let leaves fully yellow before removing them—this “recharge” fuels next year’s show. Record what worked and what didn’t, then repeat or refine. That’s the quiet rhythm of stress-free tulip success.