Introduction 🌷
Easter décor doesn’t need bulk—pressed-flower frames deliver big spring energy in slim, renter-friendly packages. They hang flush, style beautifully in flat-lays, and store flat when the season ends. Inspired by a widely shared DIY “make pressed flower frames” vibe, this guide turns last year’s blooms into fresh wall stories.
Think of these frames like spring postcards from your garden: thin, bright, and easy to arrange. Because the art is flat, you can photograph it for social posts without glare-heavy clutter. The result is a breathable, gallery-like refresh that works in studios, hallways, and small living rooms. 📸✨
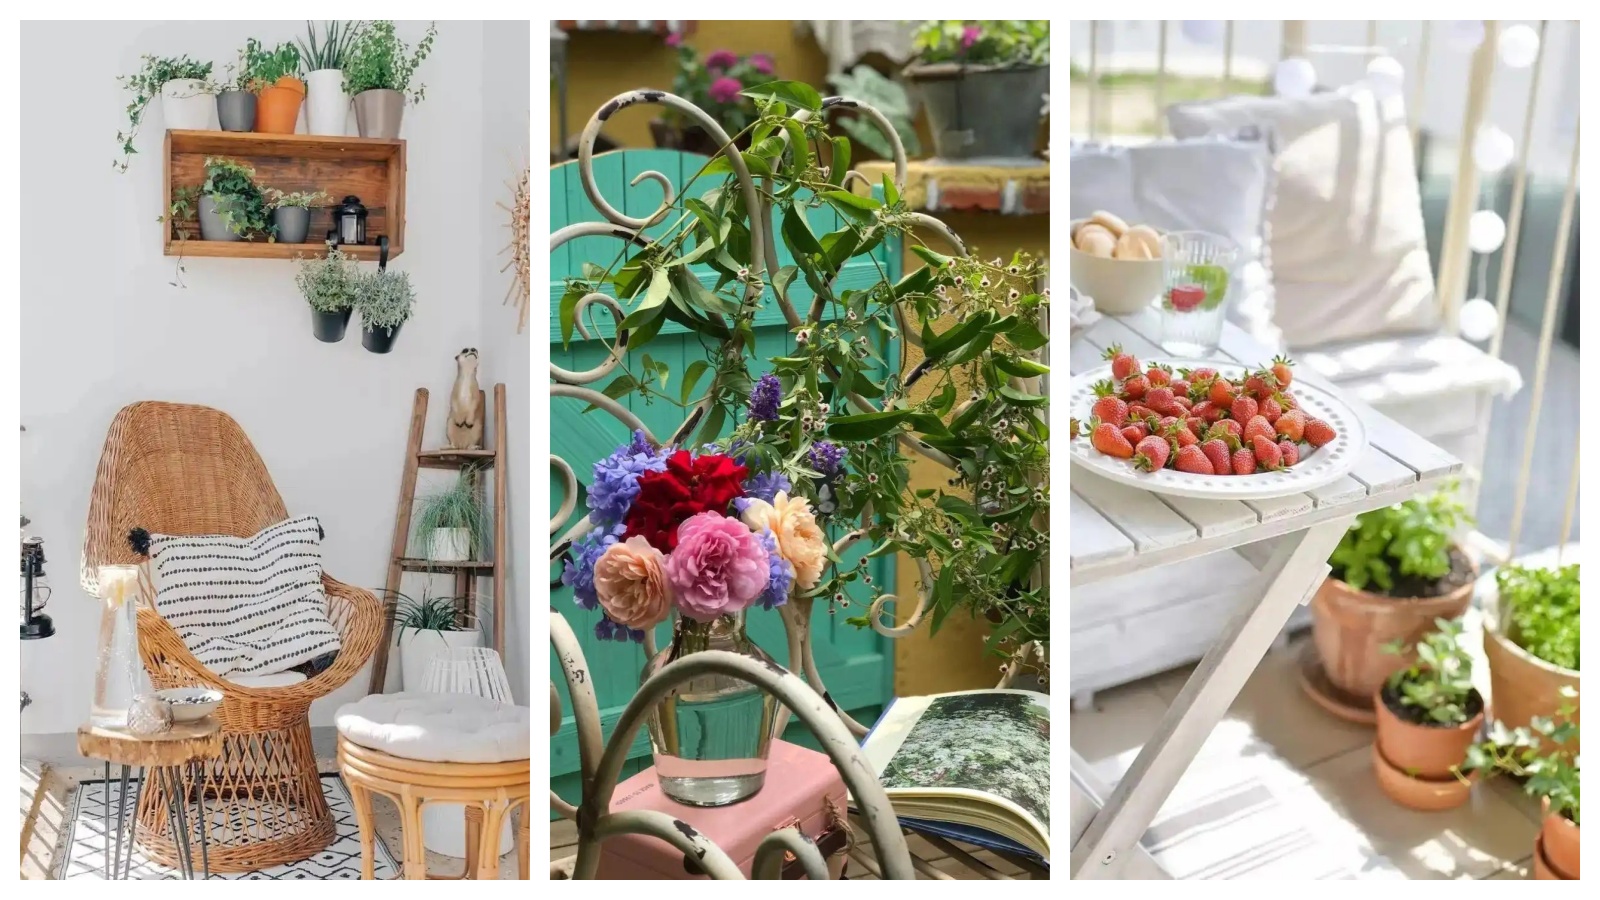
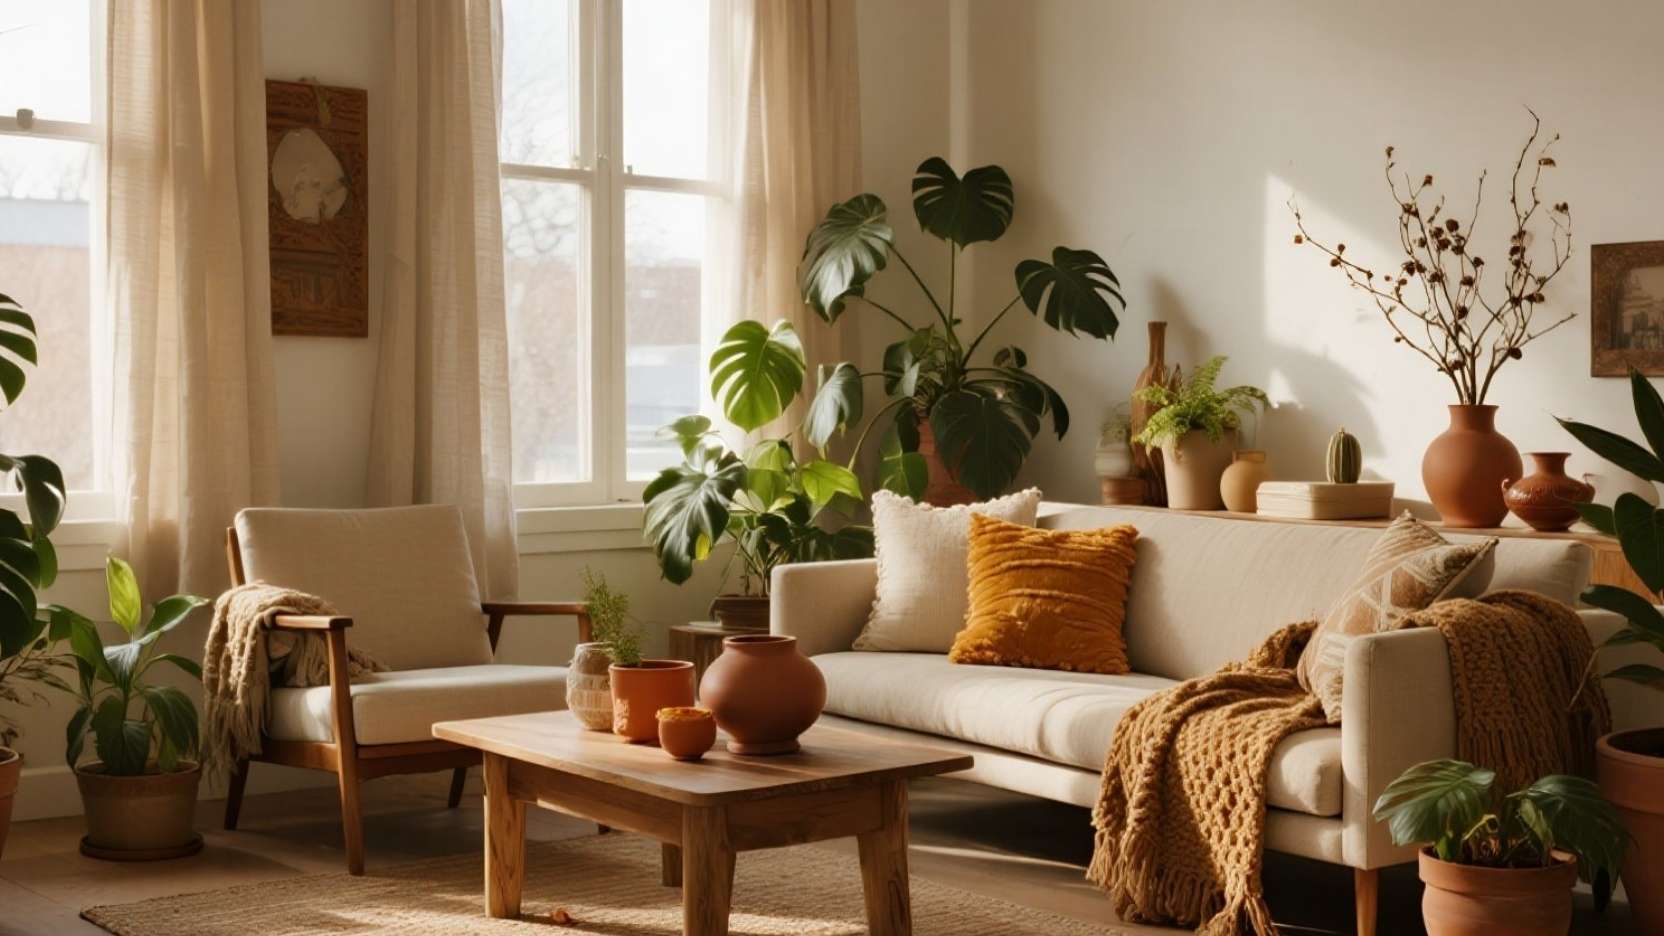
Why Pressed-Flower Frames Work for Renters & Small Spaces 🏡

Flattened florals keep depth to a minimum, so frames sit neatly on Command-style hooks and slim rails. You’re not managing bulky wreaths or heavy shadow boxes, which makes setup fast and lease-safe. The visual payoff is high because colors pop against crisp mats and glass.
For small rooms, flat art reads “tidy” and amplifies light by avoiding protrusions that cast harsh shadows. You can cluster three to five frames to simulate a full mantel moment on a simple wall. And when spring is over, everything stacks into a single folio or portfolio. 🌿🖼️
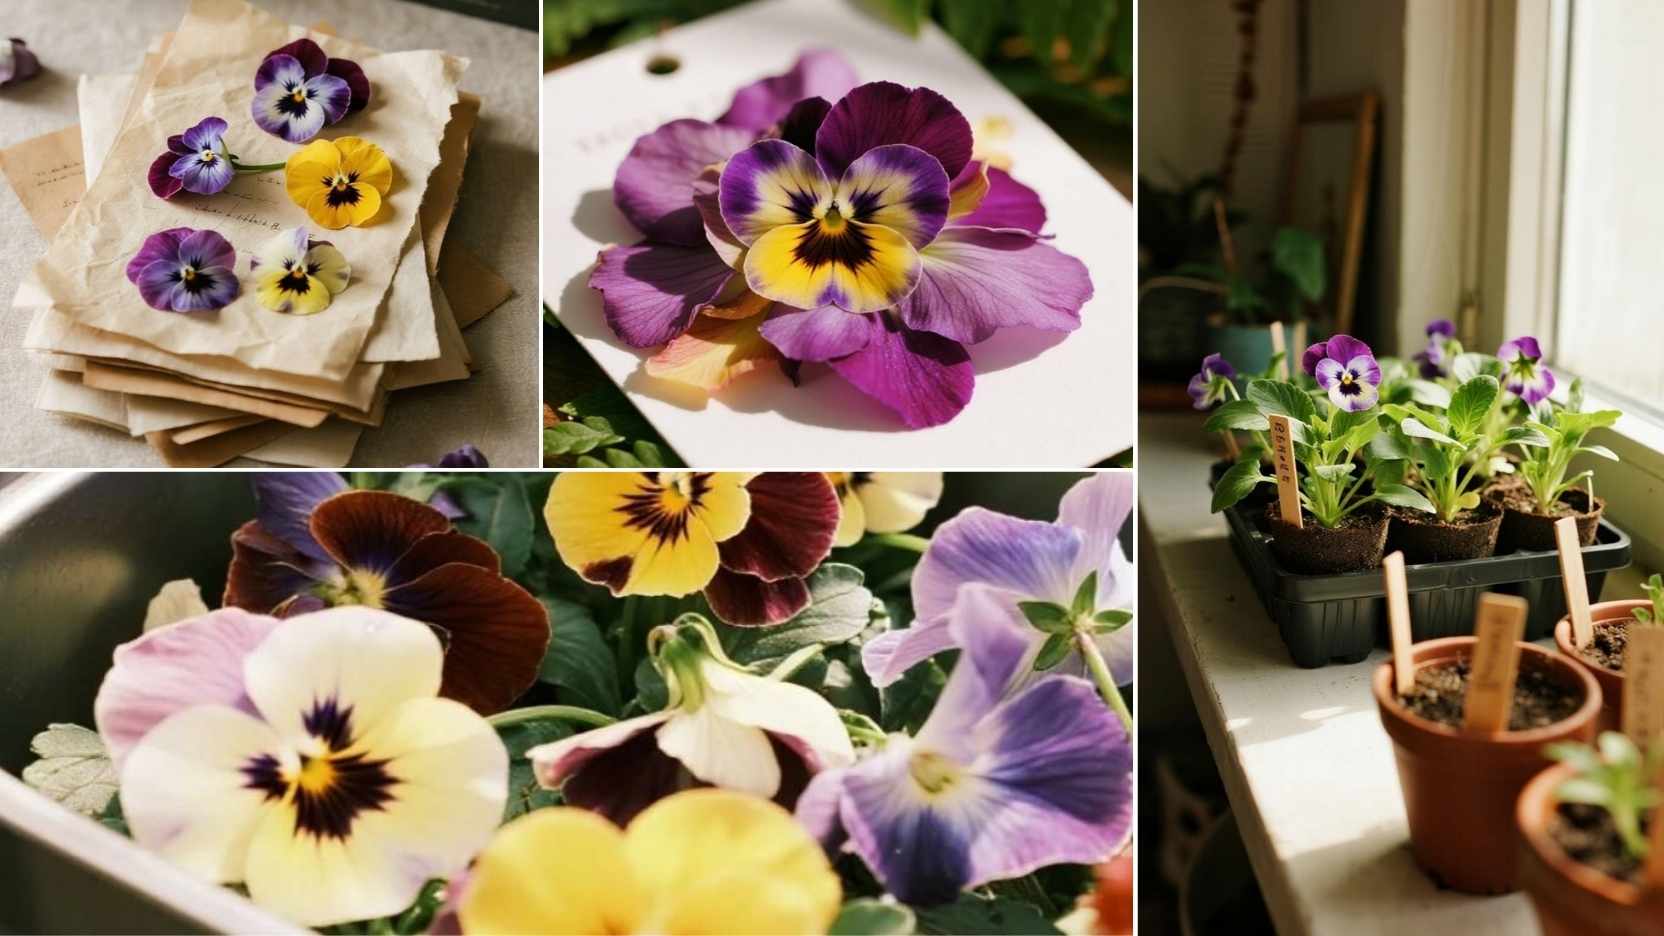
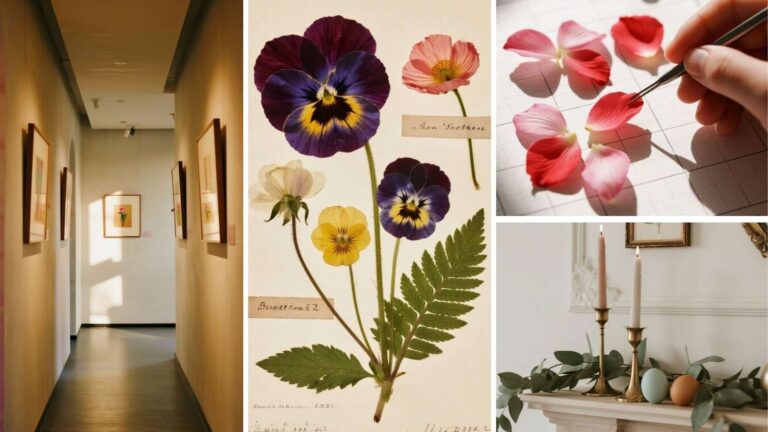
Best Flowers to Press: Pansies, Cosmos, and Ferns 🌼

Pansies press beautifully because their velvety faces retain saturated color and clean silhouettes. They come in Easter-forward palettes—violets, butter yellows, and blushes—that sing behind glass. Choose smaller pansies and blot extra moisture with tissue to prevent haloing.
Cosmos give you airy, daisy-like stars that dry quickly and stay lightweight in composition. Their fine petals feel “breezy,” ideal for negative space layouts in flat-lay photos. Ferns add sculptural fronds and elegant lines that frame blossoms without visual bulk. 🍃✨
Drying & Pressing Basics (No Fancy Gear Needed) 🧺

Pick flowers at peak and dry after morning dew has lifted to minimize browning. Remove bulky centers (like thick stamens) and pre-blot on paper to reduce moisture. Sandwich blooms between parchment in a heavy book, changing papers after 24–48 hours.
For faster, crisper results, use a screw-press or silica gel for thicker petals. Keep everything at room temperature with light airflow—no direct sun, which can cook pigments. Most thin blooms press in 5–10 days; thicker heads may need 14. ⏳🌤️
Composition Tips for Flat-Lay-Friendly Frames 🎨

Think in layers: fern fronds as lines, pansies as color anchors, cosmos as airy halos. Use the rule of thirds to place a hero bloom off-center and balance with a small cluster. Leave generous negative space so the piece reads clean in photos and on walls.
Mirror the frame’s shape—oval flow inside a rectangular frame adds elegance and motion. Test arrangements on the mat first, snapping phone pics to compare options before you commit. If a bloom looks heavy, split petals or pair with a single tiny leaf to lighten the visual weight. 📐🌺
Mounting & Framing (Clean, Reversible, Photo-Ready) 🔧
Float mounts in double-glass frames feel modern and make blossoms appear to hover. For a softer look, use a linen-textured mat and mount with small dots of archival, removable adhesive. Work with cotton gloves to avoid oils that cause faint rings under glass.
Seal the backer neatly so petals don’t shift when vertical. If you plan to recompose later, keep adhesives minimal and focus on gentle corners or micro-hinges. Always clean glass on the inside with a lint-free cloth before closing. 🧼🧤
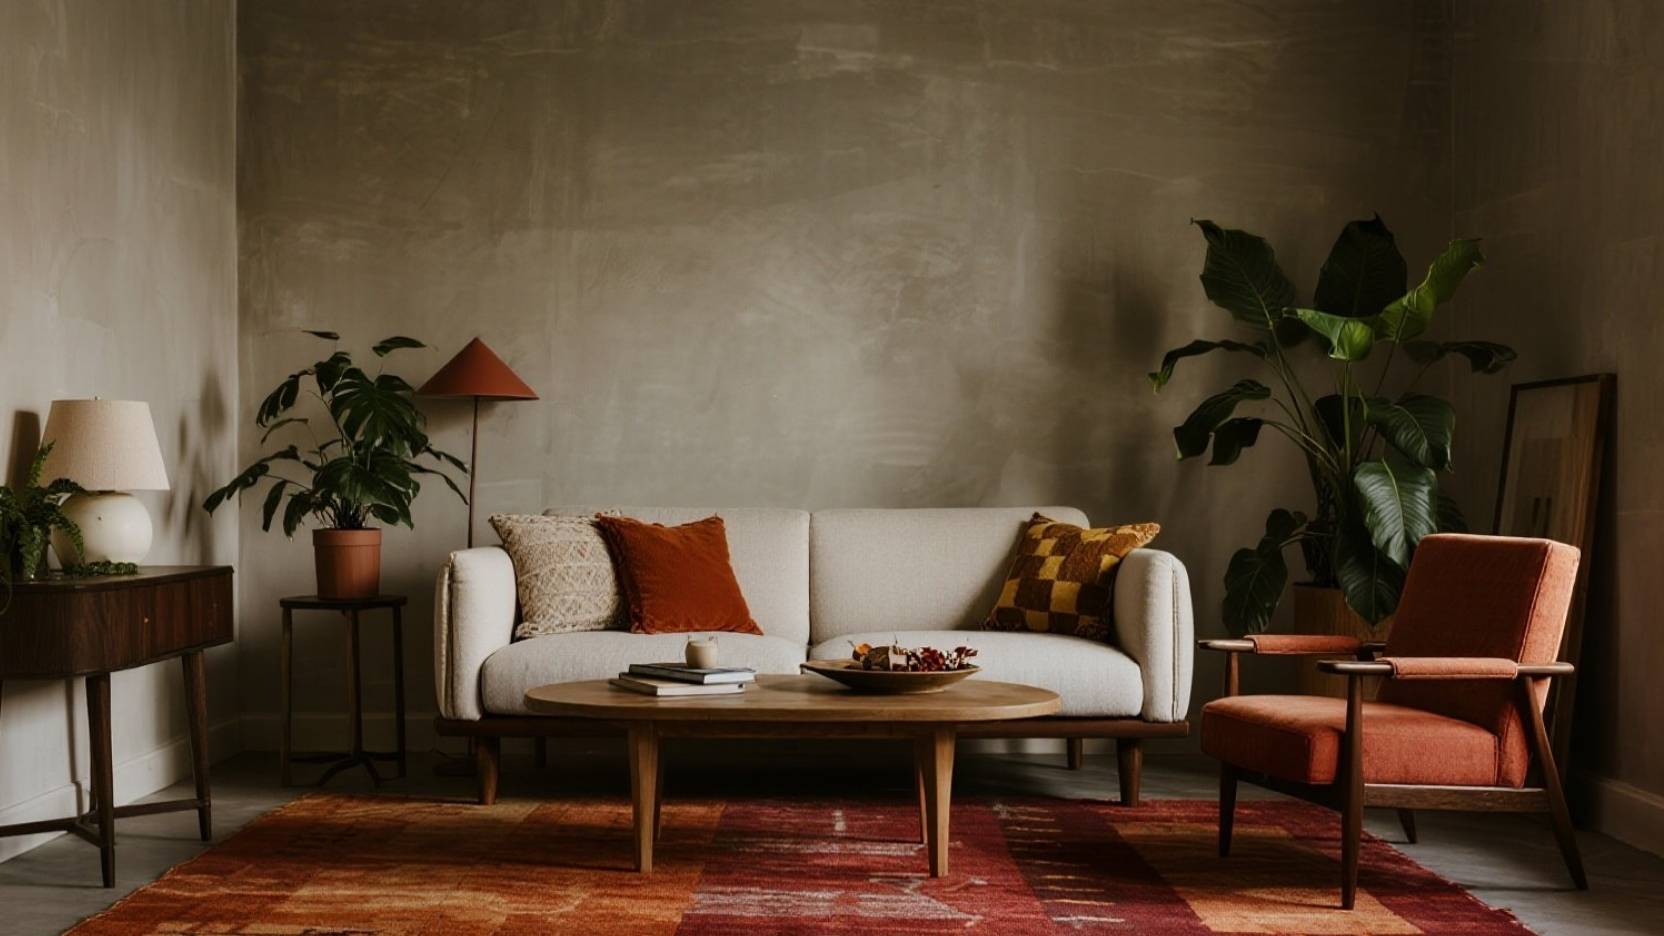
Styling with Mantle Greenery & Easter Accents 🌿🐣

Treat frames as your “art layer,” then weave a simple eucalyptus strand or faux ruscus on the mantle. Use two or three repeated elements—brass candlesticks, pastel ceramic eggs—to avoid visual noise. The greenery softens edges while the frames provide crisp structure.
If space is tight, style just one frame above a petite cluster: a taper, a bud vase, and a ribboned egg. Repeat one bloom color from the frame in your accessories for cohesion. The look photographs like an editorial shelfie without overwhelming the room. 🕯️🌱
Care, Longevity & Light Management ☀️

Keep frames out of direct sun to protect pigments, or consider UV-protective glazing. North or east walls are kinder to pressed colors over long seasons. Avoid high humidity spots to prevent subtle puckering under glass.
Dust gently with a soft brush and never spray cleaner directly onto frames. If you see slight fade over years, recompose with fresh blooms—your art is living documentation. Store off-season frames flat with interleaving tissue in a cool, dry place. 🧴🧽
Simple Start-to-Finish Flow (Quick Reference) ✅
Harvest, blot, and press your chosen pansies, cosmos, and ferns until fully dry. Test compositions on your mat with phone snapshots, aiming for balance and negative space. Mount lightly with archival methods and seal a clean frame.
Hang with renter-safe hooks and style a thin greenery strand on the mantle. Photograph in indirect daylight to capture crisp edges and true color. Rotate pieces seasonally and archive safely to build a reusable spring library. 📲🖼️
Conclusion 🌸
Pressed-flower frames are the ultimate “small footprint, big refresh” for Easter decorating. They deliver color, texture, and story without bulk—perfect for renters and compact homes. Inspired by that “make pressed flower frames” simplicity, the process is approachable and repeatable.
With pansies, cosmos, and ferns, you get vibrant faces, airy stars, and sculptural lines. Pair them with mantle greenery to bridge art and botanicals for a polished spring moment. Your walls will feel fresh, your photos will sing, and your storage will stay blissfully slim. 🌼🌿✨