Introduction 🌼
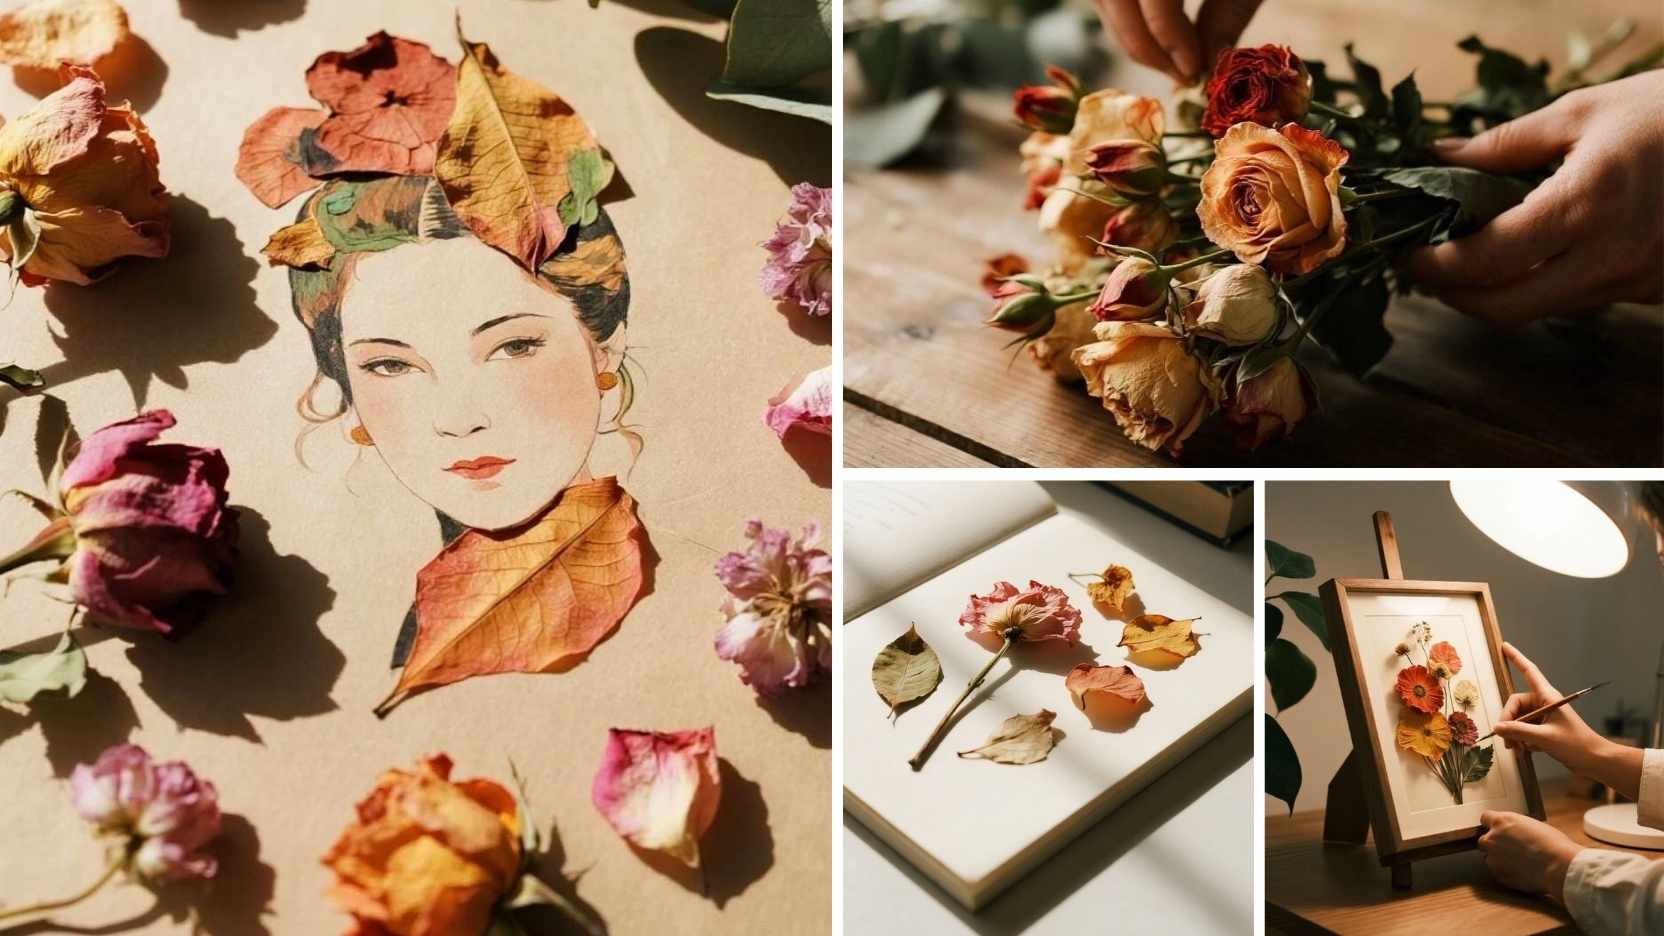
Turning a bouquet into wall art is a way of saying, “This moment matters enough to stay.” 💛 Special-occasion flowers from weddings, anniversaries, or even funerals carry layered emotions that don’t fit in a vase for long. Transforming them into framed “petal portraits” preserves both the memory and the mood in a form you can see every day.
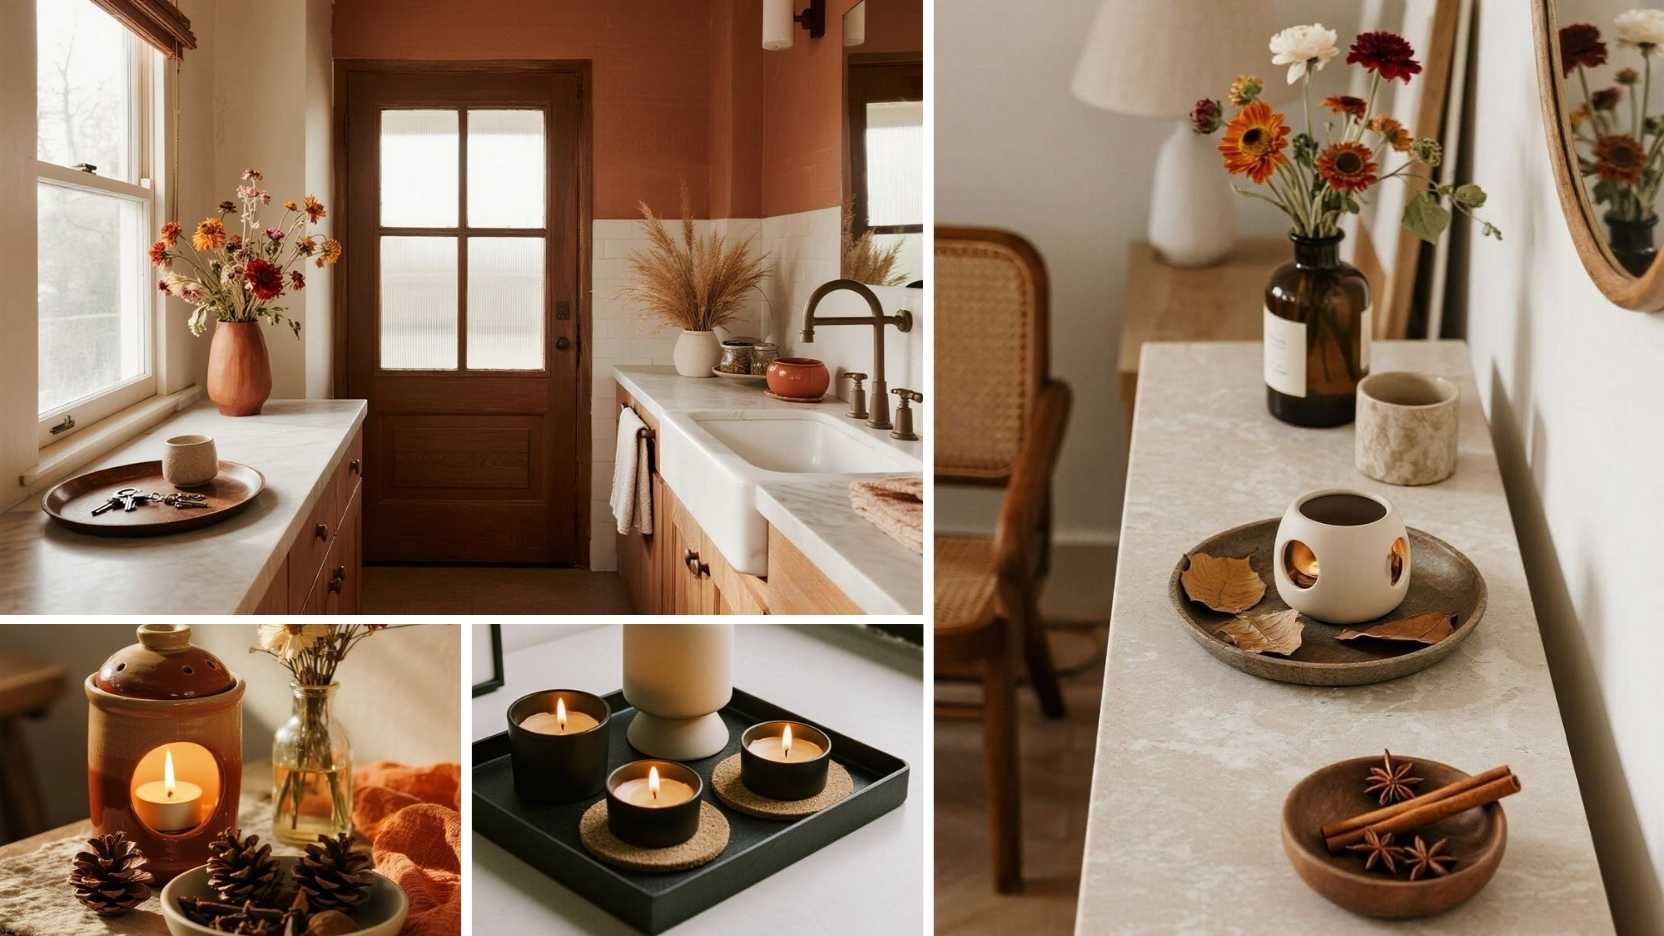
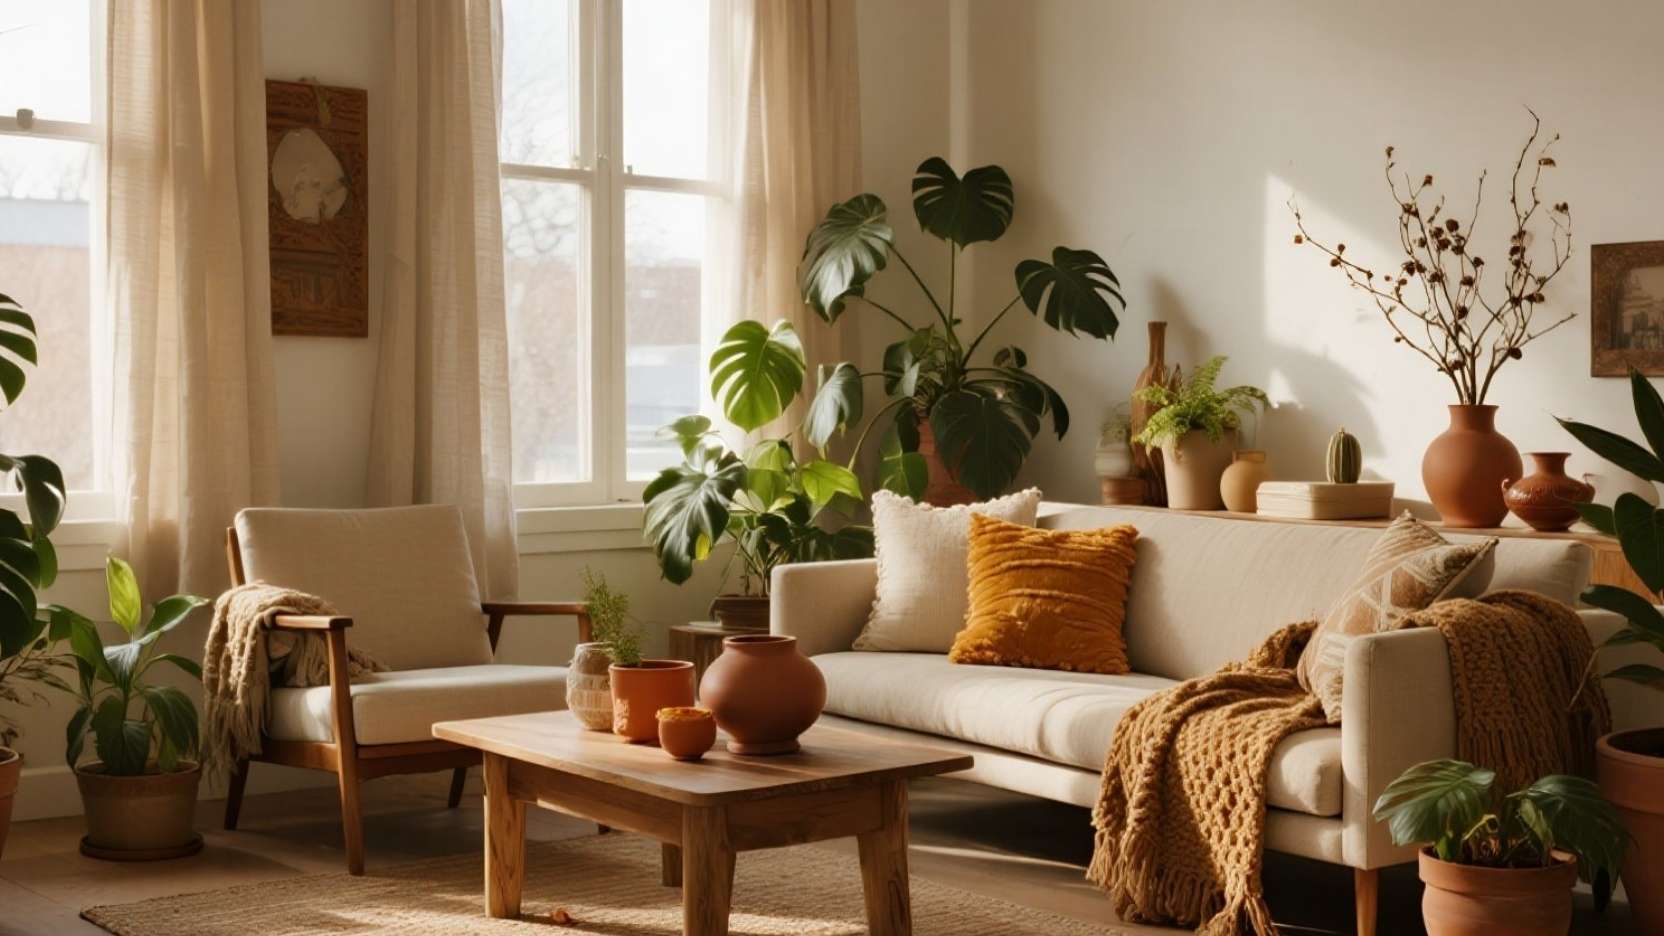
Instead of letting dried blooms crumble in a box or closet, you can design a piece that matches your home’s aesthetic—especially rich, autumn-toned schemes. Think russet rose petals, browned hydrangea heads, and eucalyptus leaves against warm cream or deep tan backgrounds. The result is a sentimental heirloom that also looks intentional and modern on your walls.
1. What are “petal portraits” and why autumn tones work so well 🍁
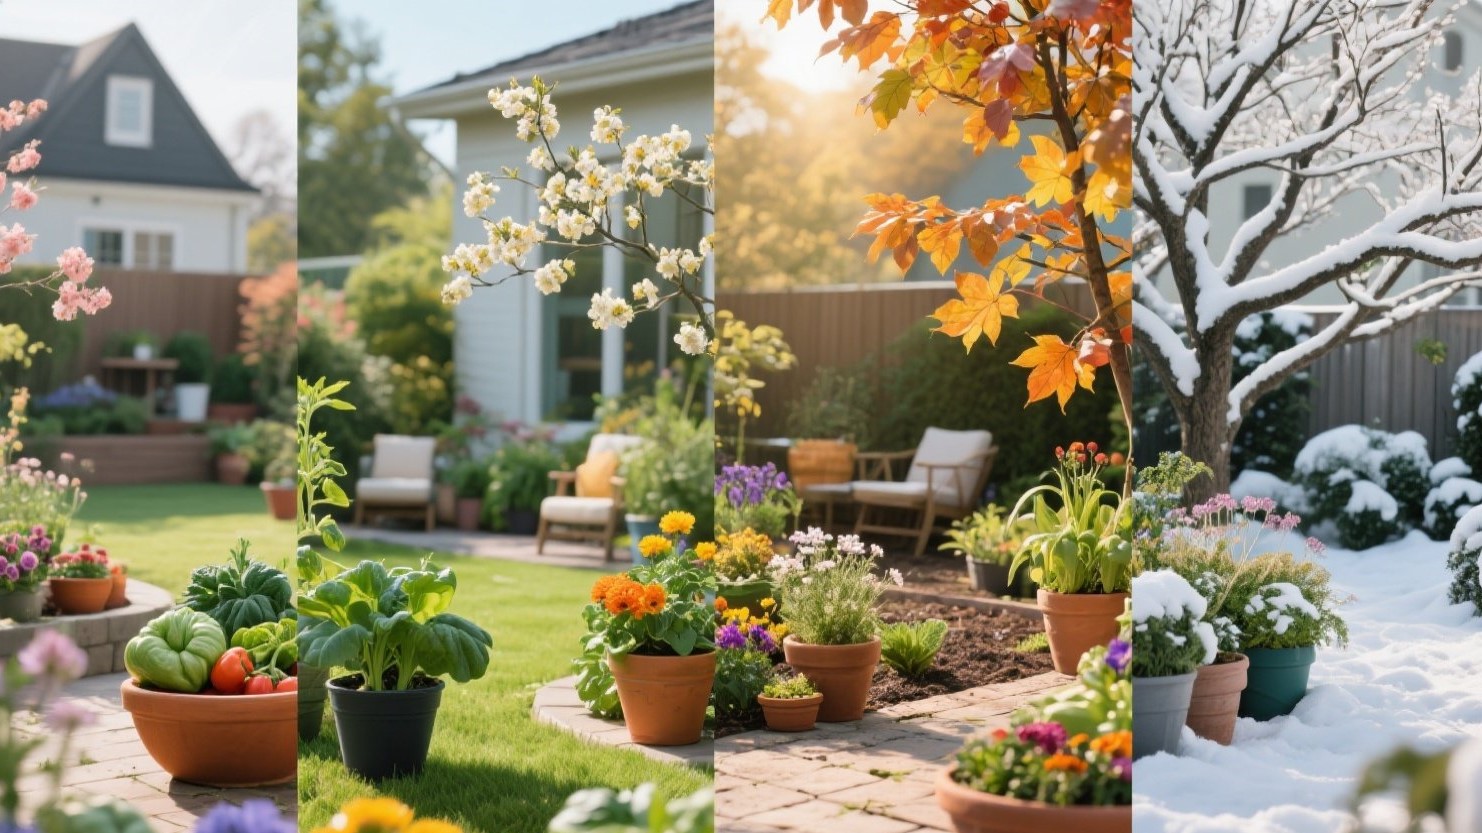
Petal portraits are flat or lightly layered compositions made from real dried petals, leaves, and plant fragments arranged on a backing and framed like a painting. They work beautifully with autumn color palettes because many flowers naturally dry into warm rust, copper, and golden shades. Instead of fighting the fading process, you lean into it and design around these earthy tones.
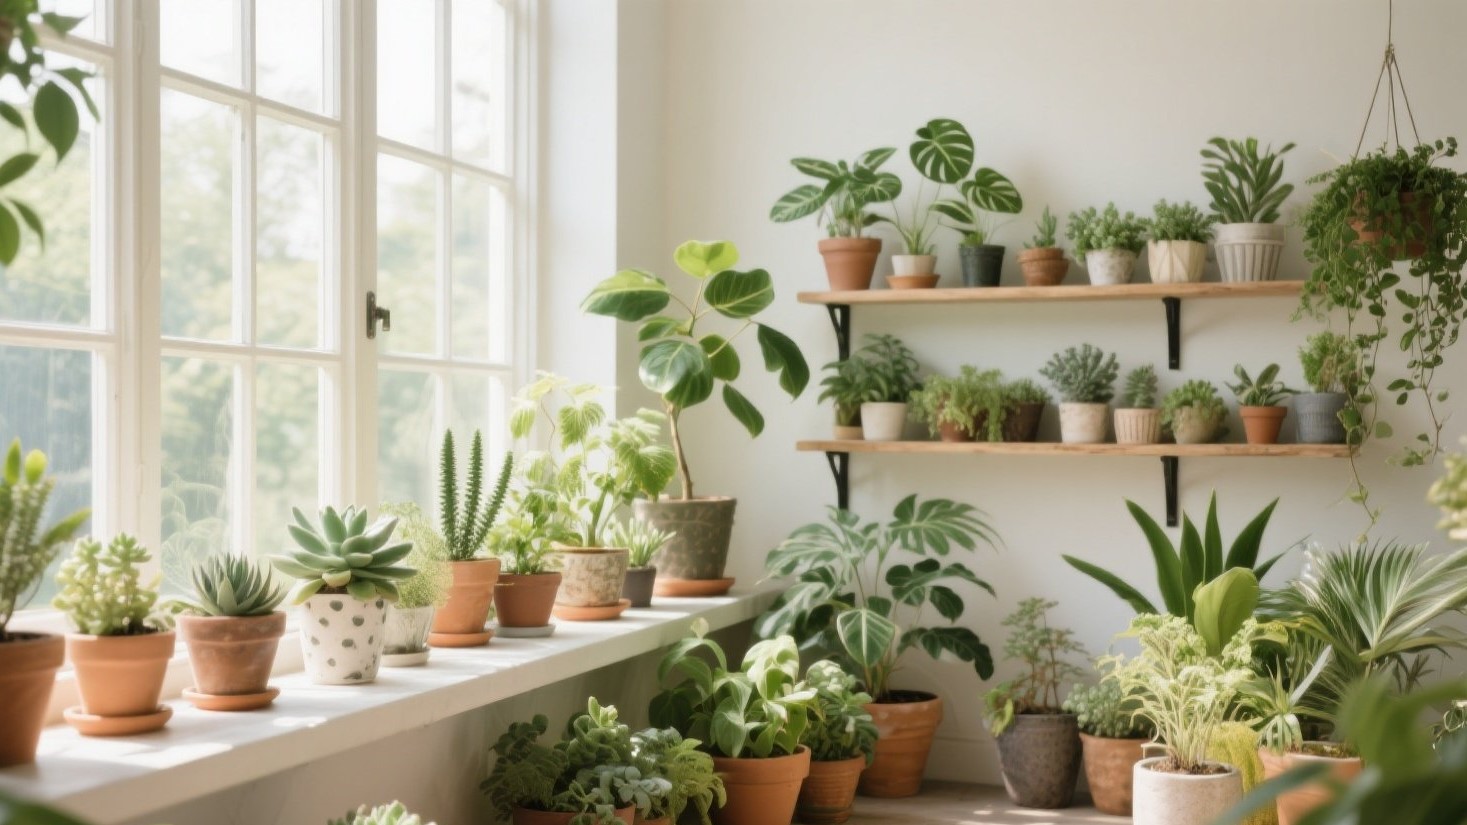
Autumn-inspired petal portraits also sit comfortably in most interiors, from minimalist apartments to cottage-style homes. Soft browns, muted reds, and olive greens complement wood, linen, and neutral walls without feeling loud or floral in the traditional sense. This makes them ideal for people who want sentiment on the wall without a sugary or overly romantic look.

2. Choosing the right bouquets and blooms to preserve 🌹
Start by deciding which bouquet deserves a permanent place on your wall—wedding flowers, memorial arrangements, graduation bouquets, or a “just because” bunch that marks a private milestone. Choose flowers that already have some structure and color variation, like roses, ranunculus, hydrangea, chrysanthemums, and sprigs of eucalyptus. The story behind the bouquet matters as much as the petals, so let the meaning guide your choice.
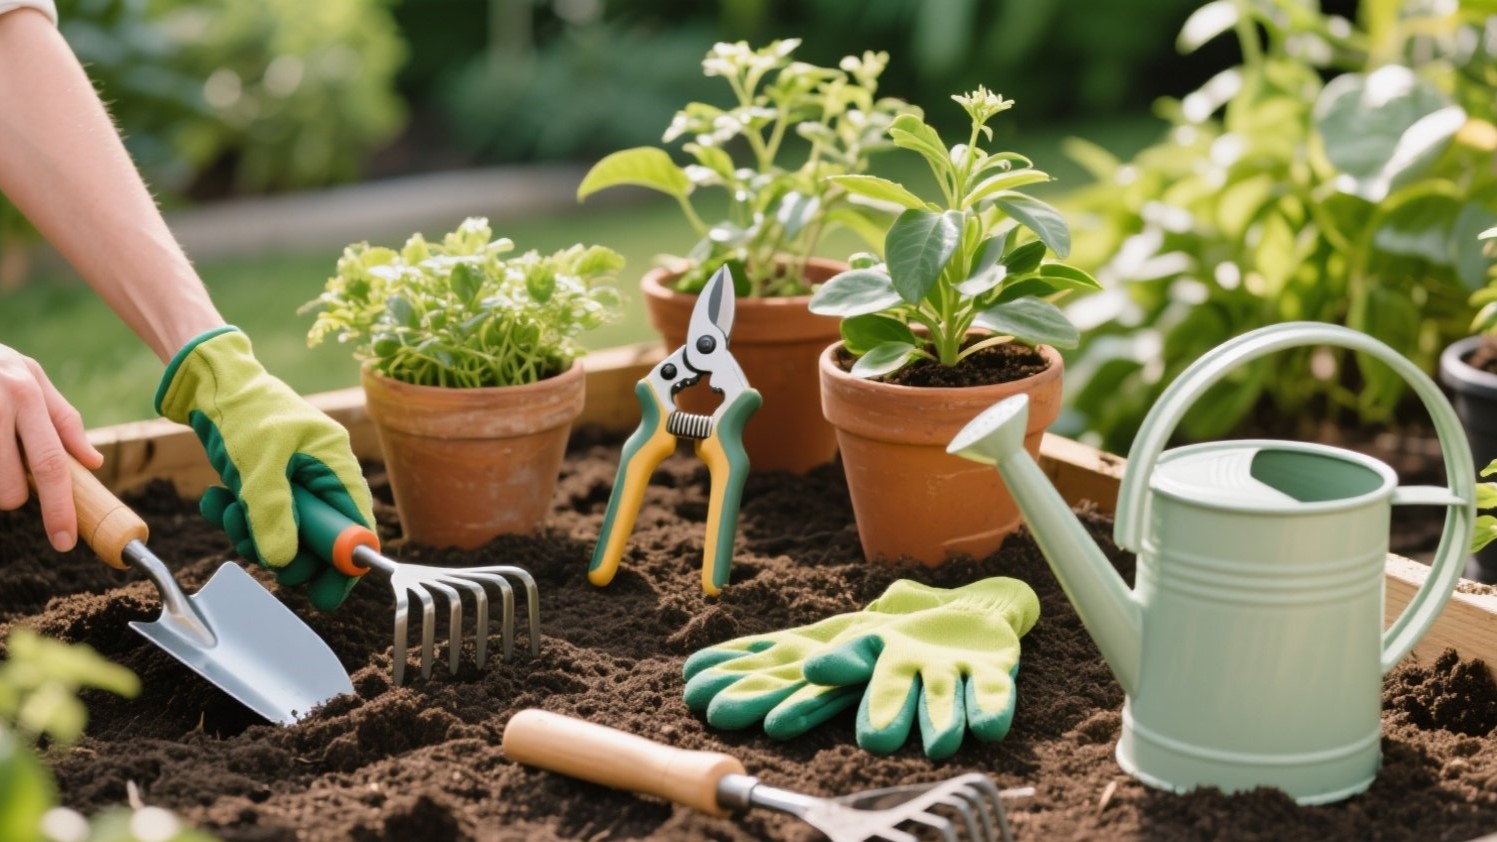
Inspect each stem and set aside blooms that are still in good shape, even if they’re a little wilted. Avoid flowers that are mushy, moldy, or smell sour—those are more likely to rot than dry. Remove any floral foam, wires, or plastic pieces so you’re working only with plant material that can dry naturally.

3. Preparing, drying, and pressing petals the safe way 🍃
To create flat, painterly petal portraits, pressing is usually the best method. Gently separate petals and small clusters from each flower, keeping some whole blooms for focal points. Sandwich them between sheets of absorbent paper (like blotting paper or plain coffee filters) inside a heavy book or a flower press.
Place additional books or a weight on top and keep everything in a dry, well-ventilated spot away from direct sunlight. Check after a week, then weekly after that, replacing any damp paper to prevent mold and staining. Most petals flatten and dry fully in two to four weeks, becoming thin, papery, and ready to arrange.

4. Designing your composition: lush bouquet vs minimalist layout 🖼️
You can arrange your dried elements in an “as-it-was” bouquet style, echoing the original arrangement, or reimagine them as a minimalist design. A bouquet-style layout keeps stems and blooms in a gathered shape, ideal if you’re sentimental about how it looked on the day. A minimalist layout spreads petals, leaves, and seed heads across the page with more white space, which suits modern, airy interiors.
Lay your pieces out on the backing paper before gluing, and take photos as you experiment with different placements. Try a loose crescent, a central cluster, or a diagonal sweep from one corner to the other. Look for a balance of shapes, sizes, and colors so your eye travels comfortably around the composition instead of getting stuck in one heavy area.

5. Glues, backings, and sealing that protect your petals 🧴
For most petal portraits, a pH-neutral, archival-quality glue or matte gel medium is ideal because it sticks well without becoming brittle or yellowing quickly. Use a small brush to apply a thin layer to the backing or the petal itself, avoiding globs that might show through delicate petals. Work slowly and gently press each piece down with clean fingers or a soft brush.
Choose a sturdy, acid-free backing like watercolor paper, archival cardstock, or museum board in a warm neutral shade. Avoid glossy papers or anything prone to warping when slightly damp. Once everything is glued and dry, you can lightly seal the surface with a thin coat of matte medium if you want extra protection, but always test on a spare petal first to make sure it doesn’t darken too much.

6. Choosing frames and glass to keep colors rich 🪞
Framing is what turns your petal arrangement into a genuine heirloom. Look for frames deep enough to avoid crushing any slightly raised petals, and pair them with a mat to give breathing room around the art. Natural wood, black, or muted bronze frames work beautifully with autumn tones, echoing the warmth of the petals.
When it comes to glass, UV-protective options help slow down fading caused by light exposure. Non-glare or museum glass reduces reflections, so you can see the texture and color without harsh glare from lamps or windows. Wherever you hang the portrait, avoid direct sunlight and high-humidity spots like steamy bathrooms to prolong its life.

7. Displaying and caring for your new heirloom at home 🏡
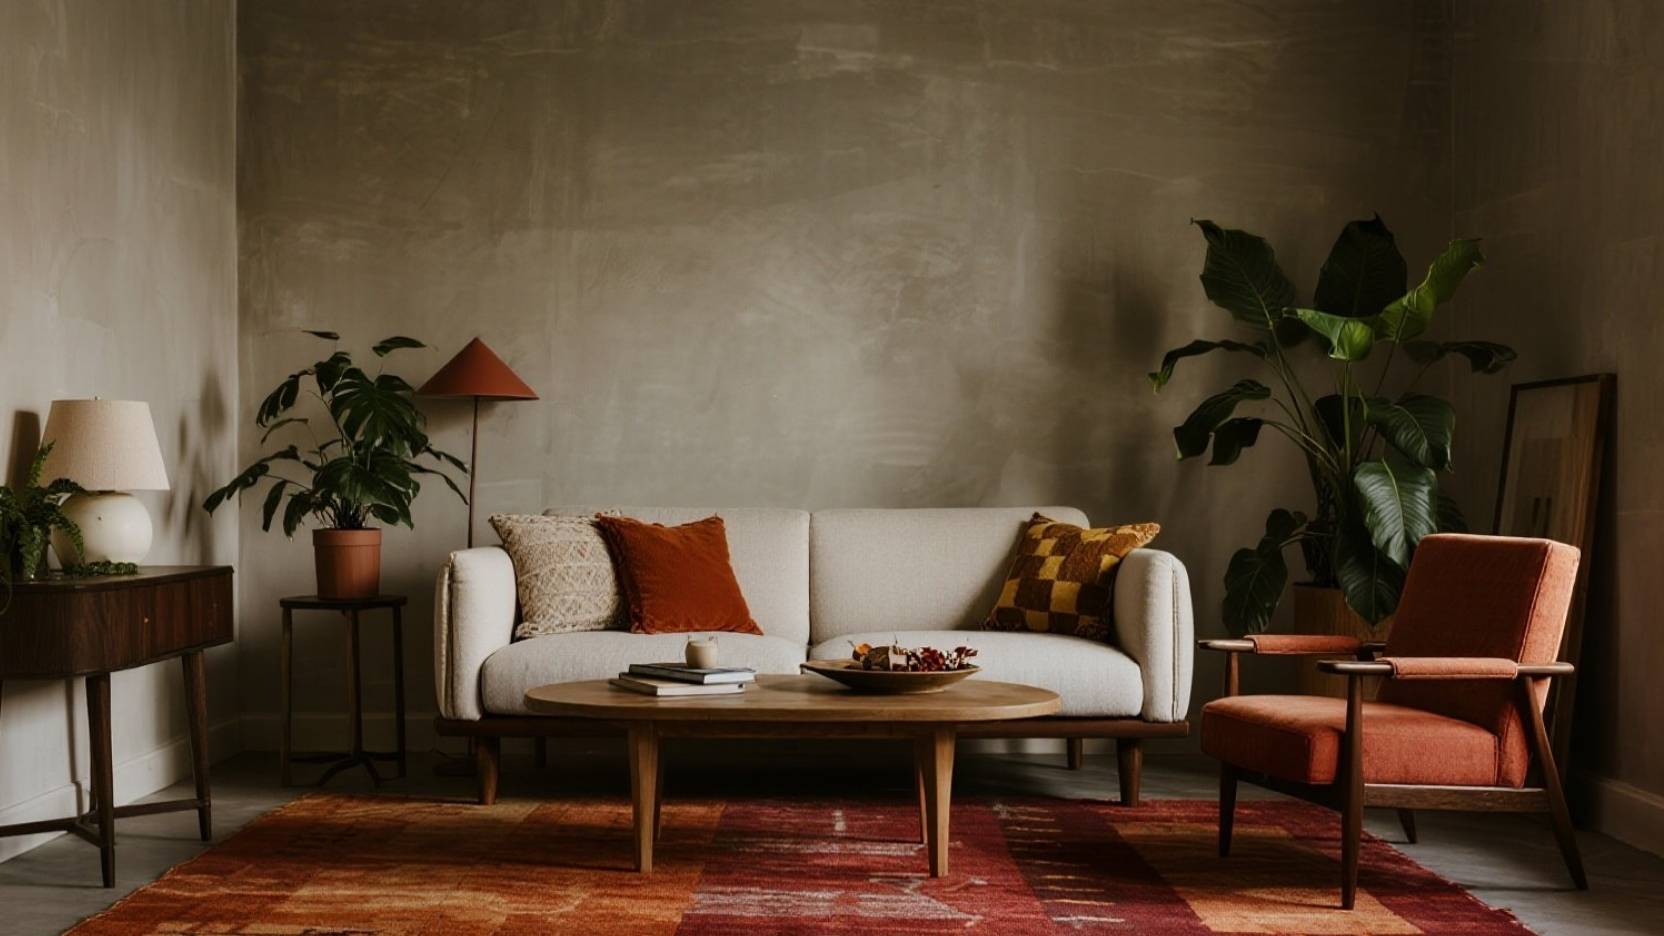
Once framed, decide where the story of this bouquet belongs—over a console table, in a gallery wall, or near family photos. Grouping your petal portrait with other sentimental pieces, like handwritten notes or small prints, can create a “memory corner” that feels curated rather than cluttered. In a minimalist home, one large petal portrait can stand alone as a quiet focal point.
To care for your piece, dust the frame gently with a soft cloth and check periodically for signs of moisture or fading. If your home is very bright, consider placing the artwork on a wall that gets softer, indirect light. Over time, colors may deepen or mellow, which can actually enhance the autumnal, vintage look rather than ruin it.

Conclusion: Letting your walls hold your stories 🤎
Designing autumn-toned petal portraits is more than a craft project; it’s a way of archiving feelings, seasons, and turning points in your life. Instead of letting bouquets disappear, you’re choosing to give them a new language on your walls. Every time you walk past, you’re reminded not just of the event, but of the choice to honor it.
Whether you press wedding roses, memorial flowers, or a simple market bunch that saw you through a hard week, each petal becomes part of a quiet, visual diary. Over the years, a home filled with these framed memories starts to feel like a living scrapbook, with texture, color, and story woven together. That’s the power of turning a bouquet into an heirloom: it keeps love visible, even as seasons change. 🌾