🌱 Introduction: Turning a Glass of Water into a Propagation Powerhouse
Hydropropagation — or water propagation — is one of the most beginner-friendly ways to grow new plants. All it takes is a healthy cutting, a clean container, and a little patience. But behind this simple process lies real plant science: roots develop differently in water than in soil, and success depends on maintaining the right light, humidity, and hygiene conditions.
Many gardeners fall in love with hydropropagation because it’s clean, visual, and rewarding — you can literally watch roots form day by day. Yet, without proper care, those same cuttings can turn slimy or rot within days. This guide breaks down how to root houseplants in water the right way, backed by plant biology and practical experience from seasoned growers.
🌿 What Is Hydropropagation?

Hydropropagation is the process of rooting plant cuttings in water before transferring them to soil. The plant’s stem absorbs oxygen and nutrients dissolved in the water while growing water roots, which are finer and more delicate than soil roots.
Unlike soil propagation, hydropropagation lets you monitor root health in real time. You’ll see when roots are forming, when they’re ready to transplant, and when the water needs changing — a perfect method for both beginners and collectors who enjoy hands-on plant care.
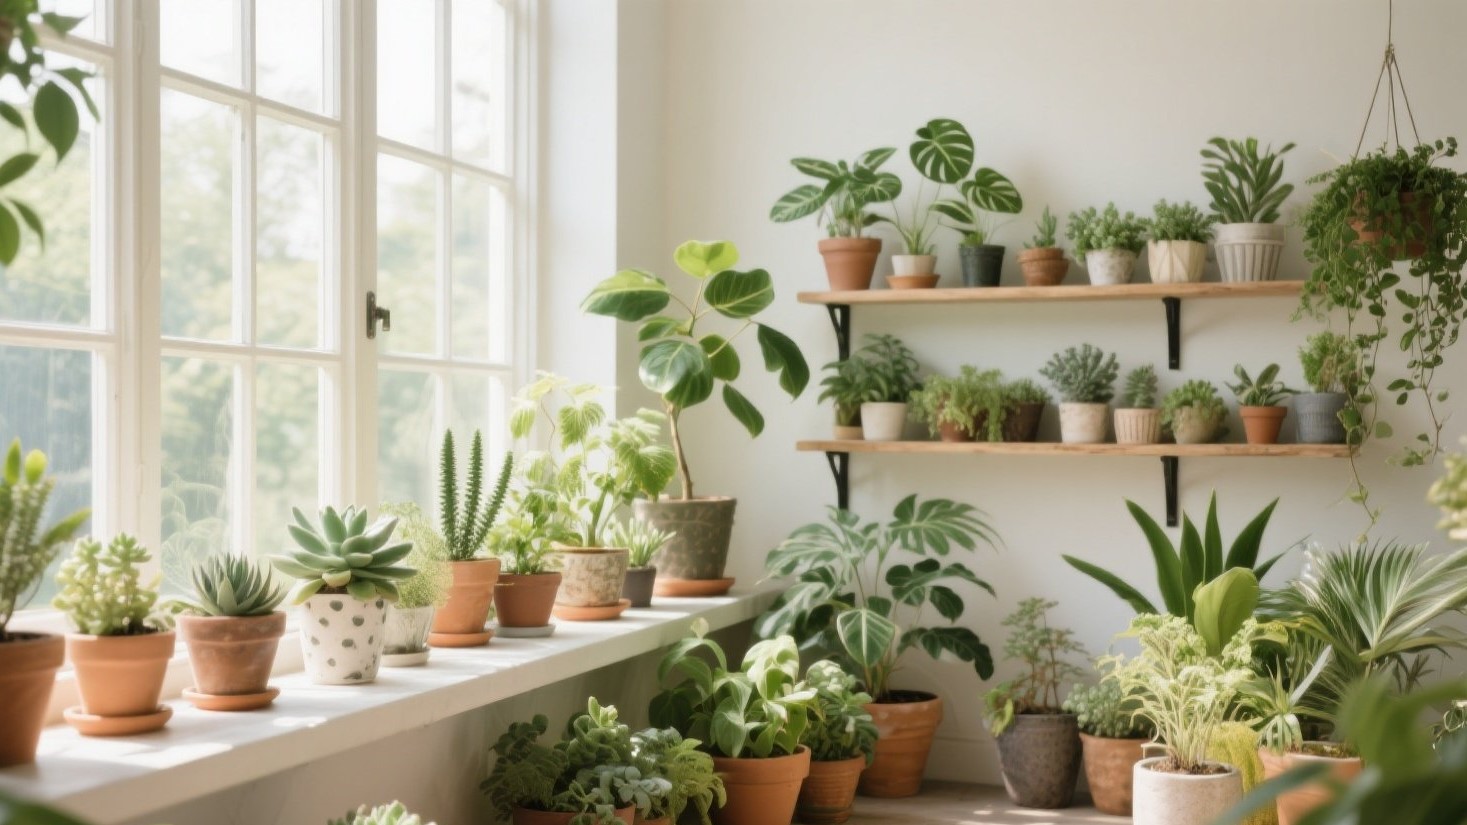
🌞 Choosing the Right Environment for Root Growth
Successful hydropropagation depends on three environmental factors: light, humidity, and cleanliness. Neglecting any of these can lead to weak roots or bacterial growth.
☀️ 1. Light: Bright but Indirect
Cuttings need energy from light to sustain photosynthesis during root development. However, direct sunlight can overheat the water and encourage algae growth.
Ideal conditions:
- Place your cuttings near a north- or east-facing window.
- Use bright, indirect light — filtered sunlight is perfect.
- If your space is dim, use a full-spectrum grow light for 10–12 hours a day.
💡 Pro Tip: Water temperature should remain around 20–25°C (68–77°F). Warm water promotes faster root development, while cold water can slow cell activity.
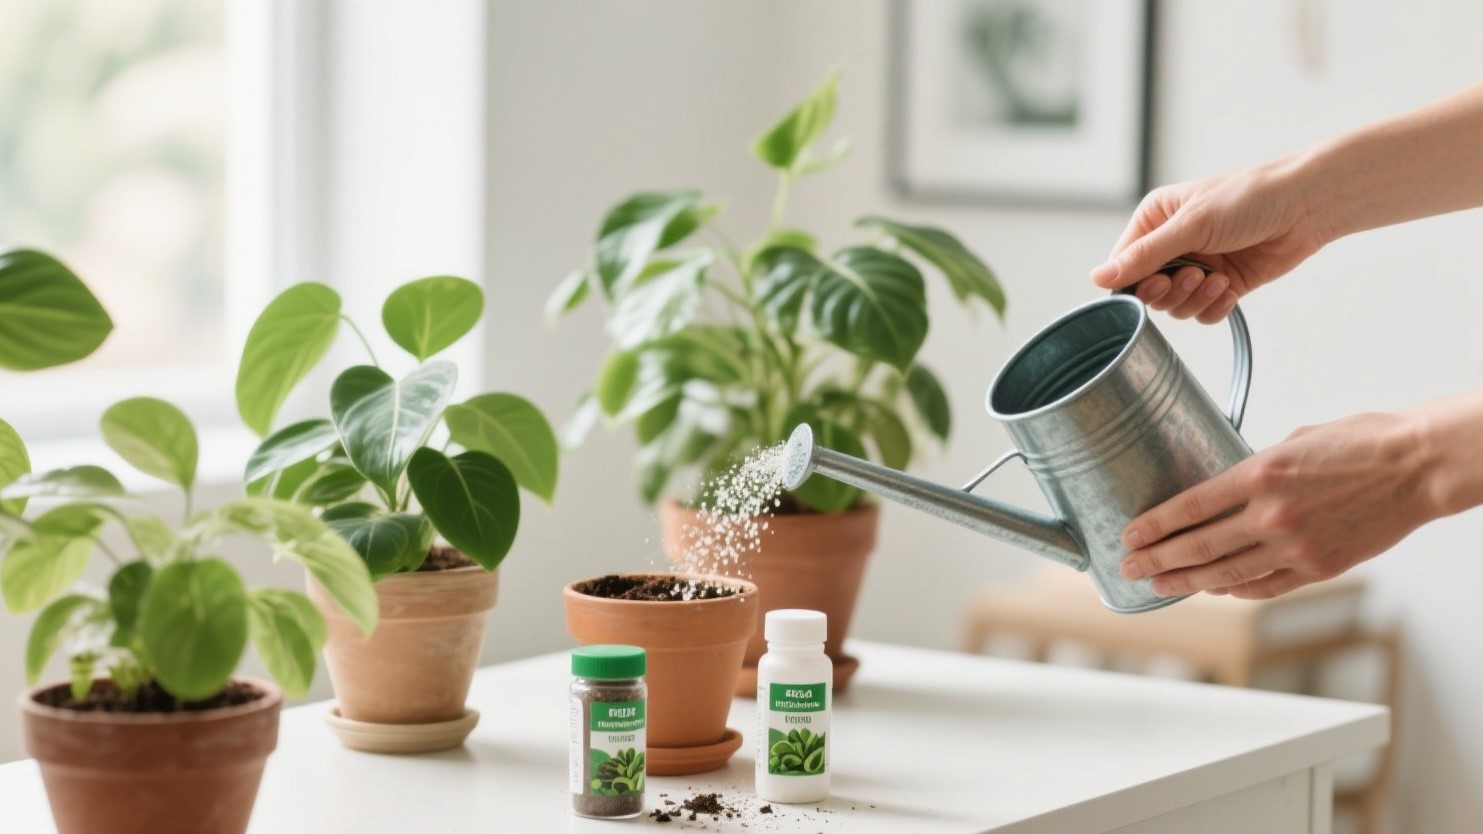
💧 2. Water Quality and Hygiene Matter
The single biggest cause of failure in hydropropagation is dirty water. Cloudy water can suffocate developing roots and promote bacterial or fungal rot.
Here’s how to keep things clean:
- Use filtered or dechlorinated water if possible. Tap water with chlorine can harm tender roots.
- Change the water every 3–5 days or sooner if it looks cloudy.
- Always rinse the container and stem base with clean water before refilling.
Optional booster: A drop of liquid seaweed or rooting hormone in the water can help stimulate faster root initiation — but it’s not necessary for most houseplants.
💡 Science Insight: Roots need oxygen as much as moisture. Stagnant water becomes oxygen-deprived, slowing root growth. Frequent changes reintroduce oxygen naturally.
🧴 3. Container Hygiene and Design
You don’t need fancy equipment — a simple glass jar, test tube, or recycled bottle works fine. But the container’s shape and cleanliness can influence rooting success.
Tips for the perfect container:
- Choose clear glass so you can easily monitor root progress.
- Avoid narrow-necked bottles — these can trap moisture and limit air exchange.
- Wash containers with mild soap and warm water between uses.
Bonus: Dark-colored glass (amber or blue) helps prevent algae growth. If you’re using a clear jar, simply wrap it with paper or foil until roots form.
🌿 Step-by-Step Guide: Rooting Houseplants in Water the Right Way
Let’s walk through a reliable process from cutting to transplanting.

🪴 Step 1: Take a Healthy Cutting
Choose a 4–6 inch cutting from a non-flowering stem. Cut just below a leaf node (where roots will emerge). Remove any leaves that would sit below the waterline.
Common plants that root beautifully in water include:
- Pothos (Epipremnum aureum)
- Philodendron
- Tradescantia (Wandering Dude)
- Coleus
- Spider Plant babies
- Monstera deliciosa (stem cuttings with nodes)
💧 Step 2: Place in Fresh Water
Fill your jar about halfway, ensuring the node is submerged but leaves are above water.
Keep in mind:
- Too much water can reduce oxygen levels.
- Too little water dries out the stem base.
Change the water every few days to maintain freshness.
🌤️ Step 3: Provide Gentle Light and Warmth
Keep the container in bright, indirect light at room temperature (21–27°C / 70–80°F).
Avoid placing jars directly on cold windowsills or under harsh sunlight — extreme conditions slow or damage new growth.
🌫️ Step 4: Maintain Humidity Around the Cutting
Cuttings root faster when humidity is moderate to high. You can:
- Place jars near other plants to naturally boost humidity.
- Use a humidity tray (a shallow dish of water with pebbles).
- Mist nearby air lightly — but don’t mist the leaves excessively.
🌱 Step 5: Watch for Root Growth
You’ll start seeing root nubs within 7–14 days for fast-rooting plants like Pothos or Tradescantia. Slower species may take up to 4–6 weeks.
Healthy roots are:
✅ White or cream-colored
✅ Firm to the touch
✅ Growing steadily in multiple directions
If roots turn brown, mushy, or smell foul — remove affected parts, clean the container, and replace the water.
🌿 Step 6: Transplant Carefully to Soil (Optional)
Once roots reach 2–3 inches long, they’re ready for soil transition. Move gently into moist, well-draining soil.
💡 Adaptation tip: Water roots are used to high oxygen and constant moisture. For smoother adjustment, keep soil slightly damp for the first week and avoid strong sunlight until new growth appears.
🚫 Common Mistakes in Hydropropagation
Even experienced gardeners make these errors:
❌ Using dirty jars or stale water
❌ Exposing cuttings to full sun
❌ Leaving leaves submerged in water
❌ Skipping regular water changes
❌ Transferring too early (short, undeveloped roots)
By avoiding these pitfalls, your success rate will skyrocket.
🌿 The Hidden Benefits of Water Propagation
Hydropropagation isn’t just easy — it’s educational and sustainable. You’ll learn to observe how roots behave, understand plant biology up close, and multiply your collection without spending extra money.
Beyond aesthetics, water propagation teaches patience, observation, and adaptability — the foundations of any skilled gardener.
🌸 Final Thoughts: Clarity in a Glass
Rooting houseplants in water is more than a propagation trick — it’s a slow, meditative process that reconnects you with how plants grow. 🌱💧
Each cutting suspended in a glass jar tells a quiet story of resilience: life continuing, root by root, in the simplest medium possible. Treat your hydro-cuttings with care, and soon your windowsill will be lined with thriving new plants — each one started by your own hands. 🌿✨