🌱 Introduction: When “Helping” Your Plant Hurts Instead

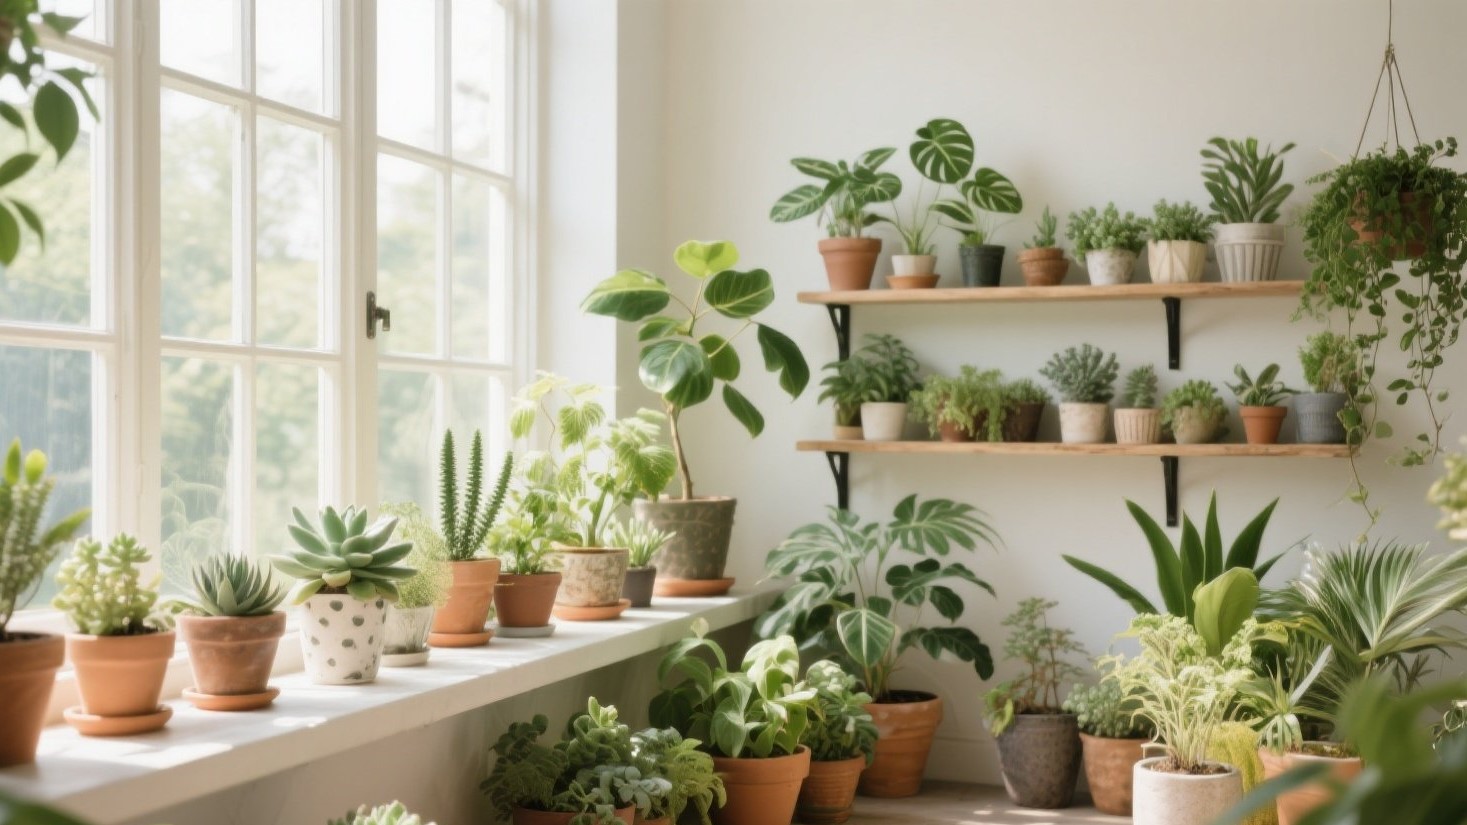
You finally decide to repot your beloved plant — give it more room to grow, fresh soil, and a prettier pot. But a few days later, the leaves droop, turn yellow, or start falling off. Within a week, your once-thriving plant looks like it’s giving up.
If this sounds familiar, you’re not alone. Many plant owners experience what’s known as transplant shock, a common reaction that can make a healthy plant struggle or even die after repotting.
The good news? 🌿 Most of the time, it’s not the repotting itself that kills your plant — it’s how it’s done and what happens after.
Let’s break down exactly why this happens, how to recognize early warning signs, and what you can do to help your plant bounce back stronger than ever.
🧪 1. Understanding Transplant Shock: The Root of the Problem
Plants are living organisms with delicate internal systems. When you repot, you disturb their roots — the plant’s lifeline for water, oxygen, and nutrients.
This sudden change triggers transplant shock, a form of stress that temporarily halts growth and weakens the plant’s immune system.
Common signs of transplant shock include:
- Wilting or drooping leaves
- Yellowing or browning foliage
- Leaf drop or soft stems
- Slow or stopped growth
- Soil that stays wet but roots don’t absorb water
Why does this happen? When roots are damaged or exposed to air during repotting, they struggle to re-establish contact with the soil and water, leading to dehydration — even if you’re watering properly.
🌿 2. Root Damage: The Hidden Cause of Decline
The biggest mistake gardeners make when repotting is being too rough with the roots.
⚠️ Root trimming done wrong
Some tutorials suggest trimming roots before repotting — but this should only be done if the plant is root-bound (when roots circle tightly around the pot). Even then, trimming must be minimal and clean.
Cutting too many roots at once can severely reduce the plant’s ability to absorb moisture, leading to sudden wilting and root rot.
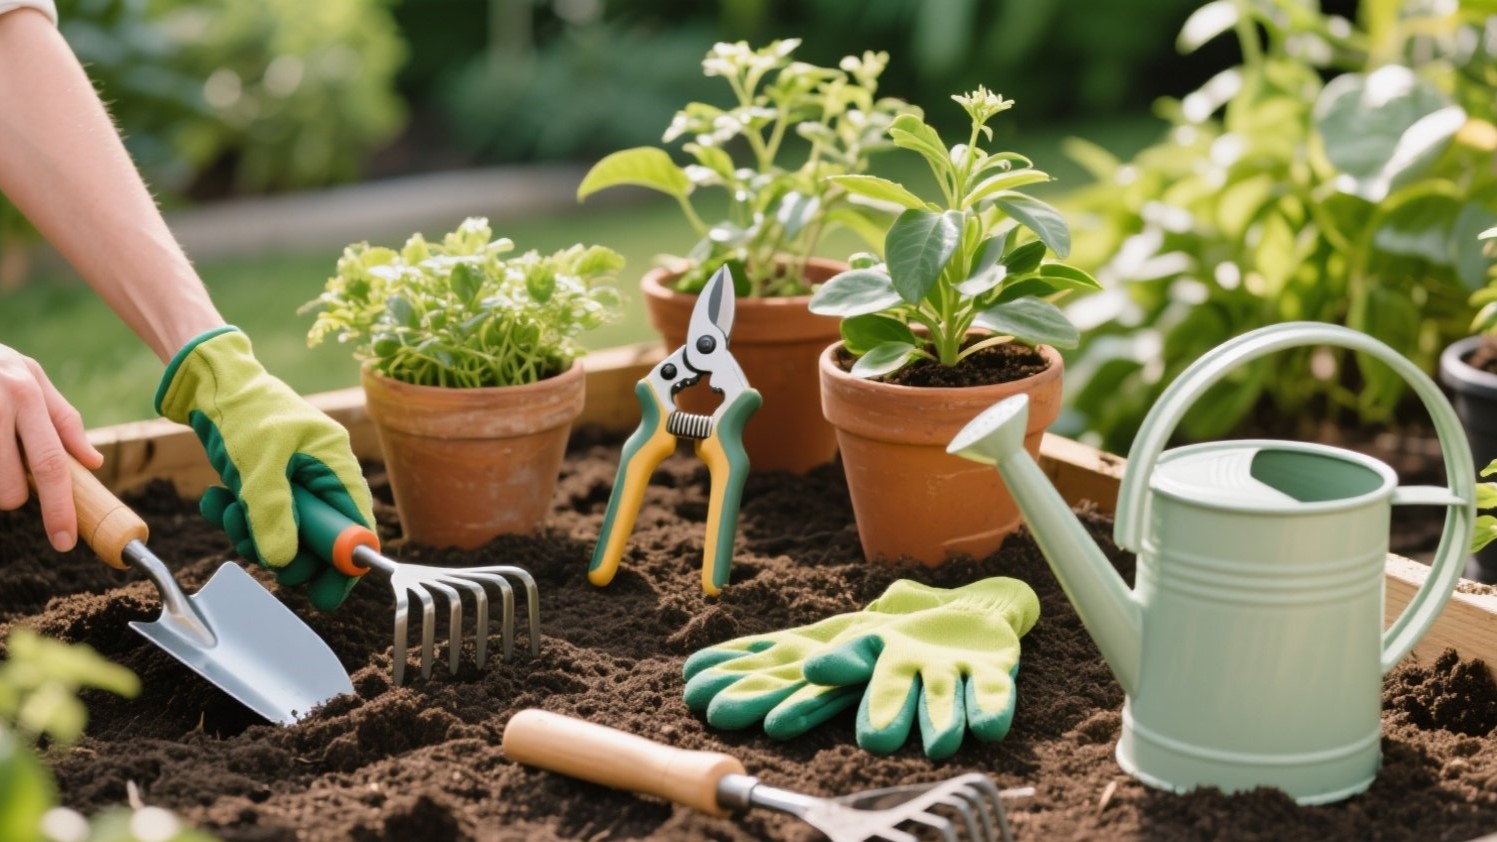
🪴 Tip: Handle roots like silk
When transferring your plant, gently loosen the root ball with your fingers. Don’t shake off all the old soil — it helps the plant transition by retaining familiar microbes and moisture levels.
💧 3. Wrong Watering After Repotting
Watering can make or break a plant’s recovery. Many people either water too much or too little after repotting — both are harmful.
- Overwatering: After roots are disturbed, they can’t absorb moisture efficiently. Sitting in wet soil encourages root rot and fungal infections.
- Underwatering: Conversely, withholding water right after repotting can leave roots dry and struggling to recover.
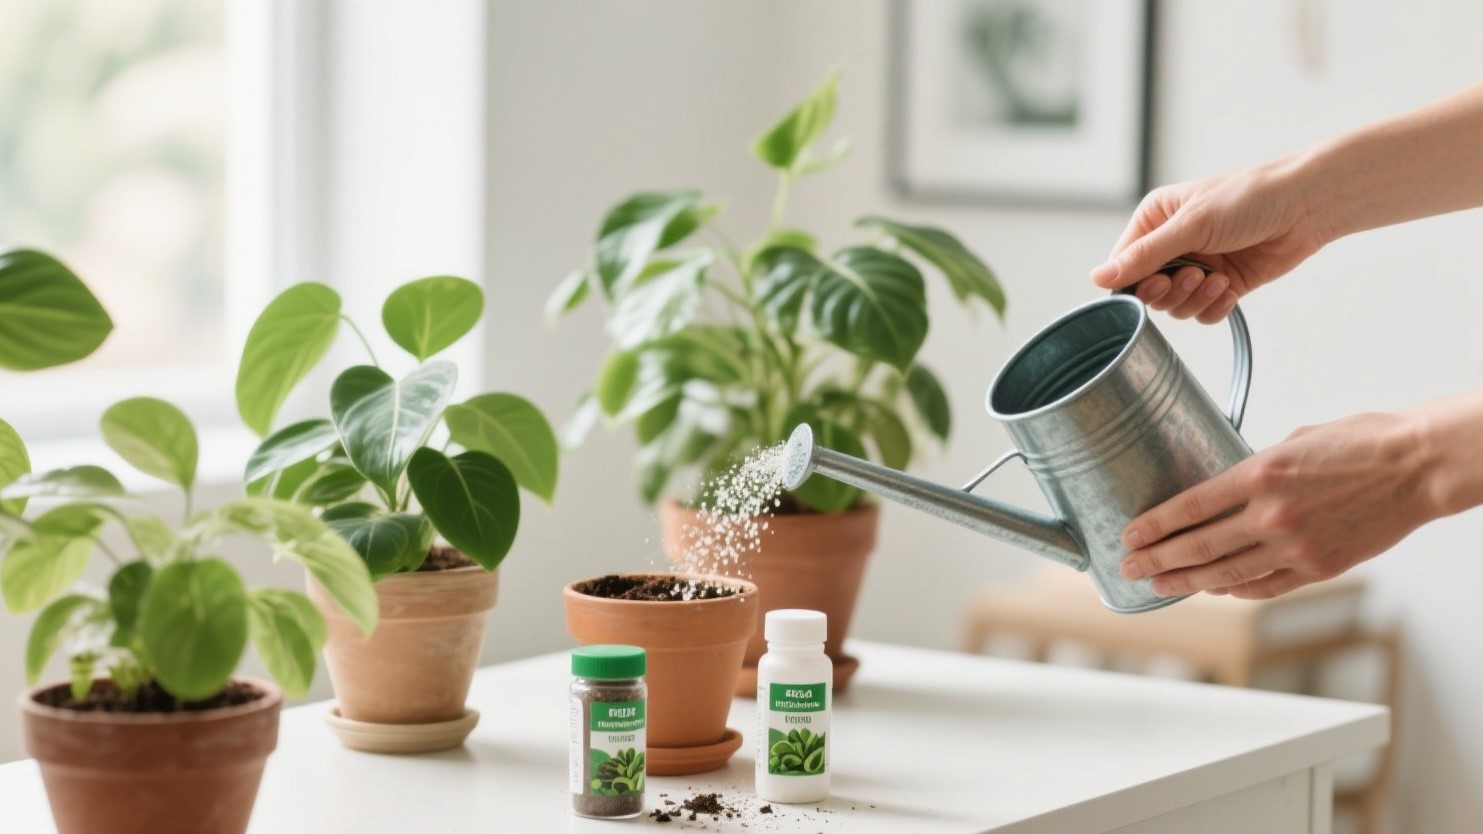
✅ Best practice:
- Water thoroughly once after repotting, until water drains from the bottom.
- Then, let the top inch of soil dry before watering again.
- Avoid fertilizing for at least 2–4 weeks to prevent further stress — fresh soil already contains nutrients.
🪴 4. Pot and Soil Mismatch
Choosing the right pot size and soil mix is essential for root health.
🧺 Pot size matters
A common misconception is that bigger pots mean better growth. In reality, pots that are too large hold excess moisture, drowning young roots.
Choose a pot only 1–2 inches larger in diameter than the old one. This ensures even drying and reduces the risk of fungal issues.
🌾 Soil composition counts
Different plants have different soil needs.
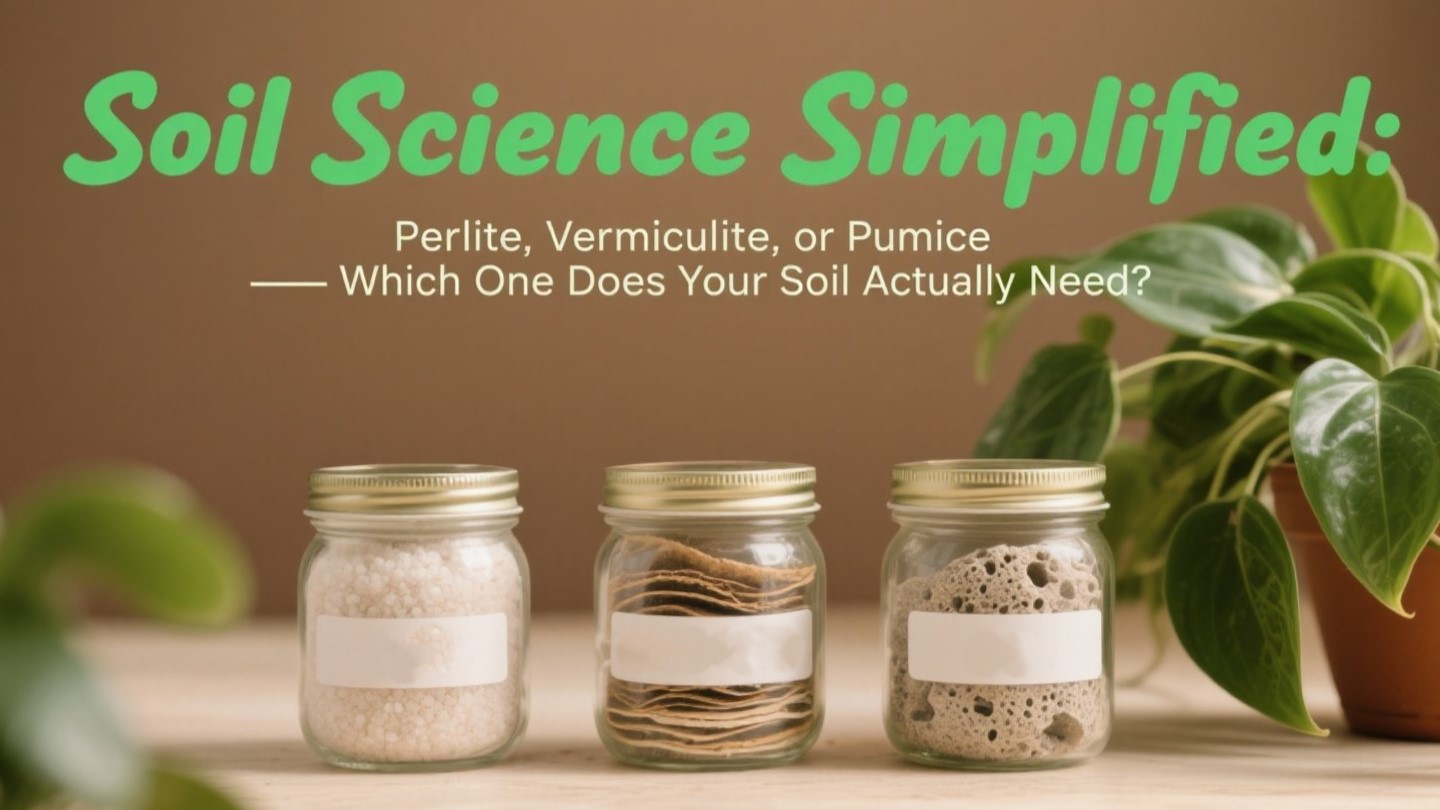
- Succulents & cacti: Need gritty, fast-draining soil with perlite or pumice.
- Tropical plants (pothos, monstera): Prefer moisture-retentive, airy soil with coco coir and bark.
- Ferns & calatheas: Thrive in humus-rich, evenly moist mixes with vermiculite.
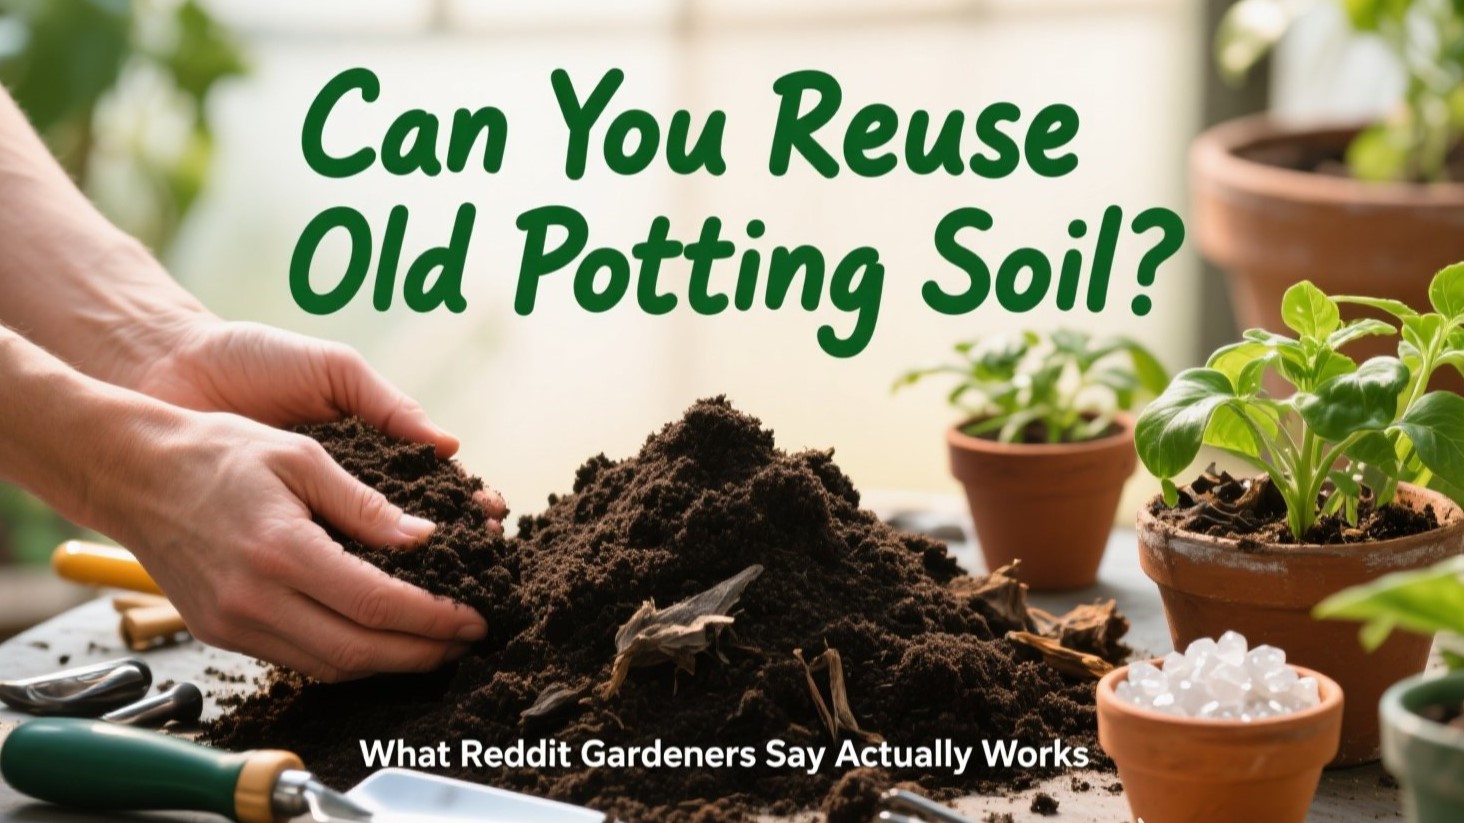
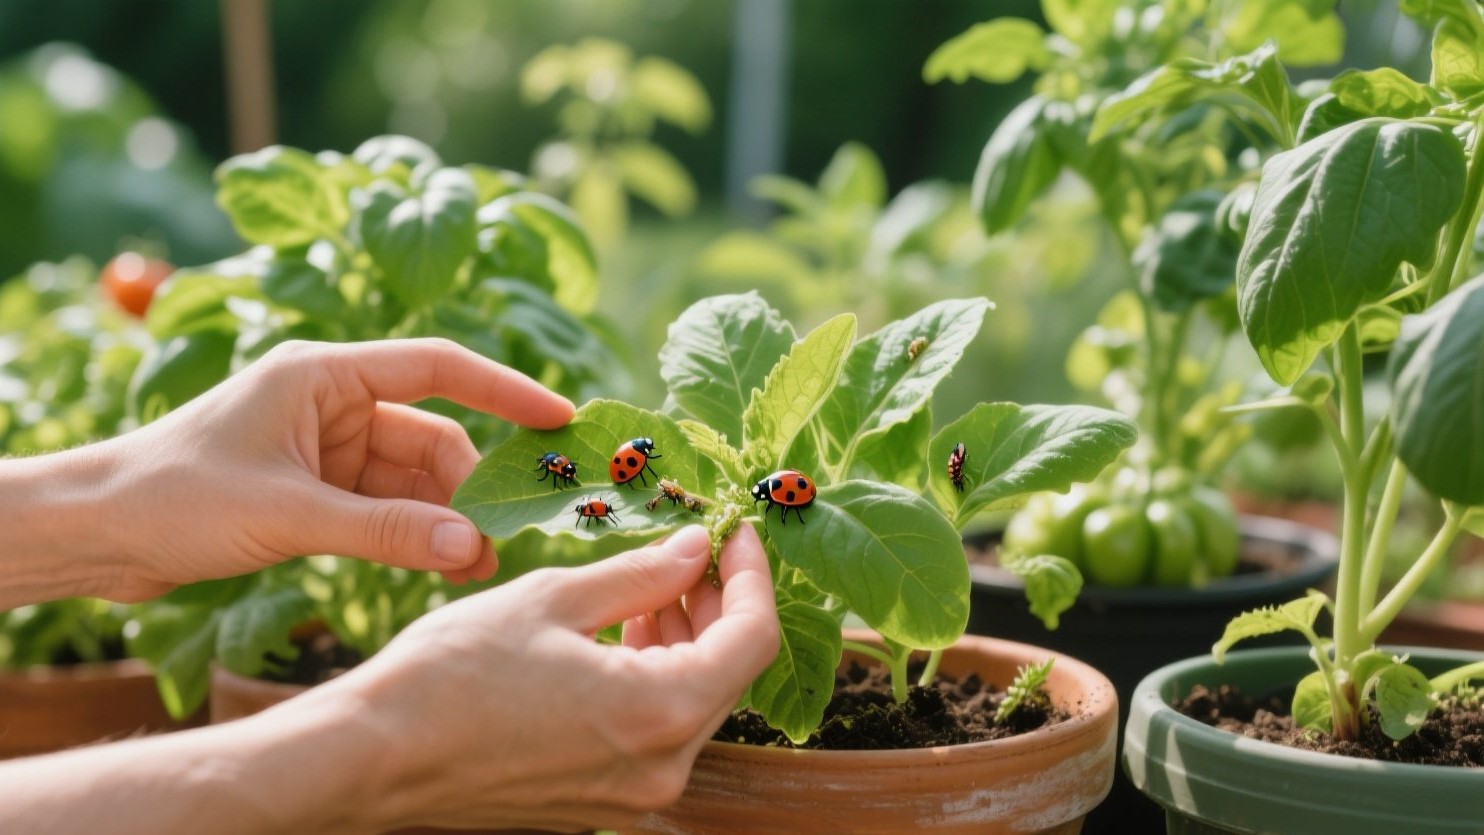
If you reuse old soil, always check for pests, mold, or compacted texture — these can suffocate roots before they even settle in.
🌤️ 5. Post-Repotting Acclimation: The Recovery Window
After repotting, your plant needs time to adapt to its new environment. Think of it like recovering from surgery — even healthy roots need rest.
🕯️ What to do during the first 2 weeks:
- Keep the plant out of direct sunlight — bright, indirect light is best.
- Avoid moving it around or rotating it often. Stability helps it re-establish root contact.
- Maintain consistent humidity and room temperature.
- Do not fertilize — wait at least 3–4 weeks.
Once you notice new growth, it’s a sign your plant has recovered from transplant shock. 🌱
🧤 6. When to Repot — Timing Is Everything
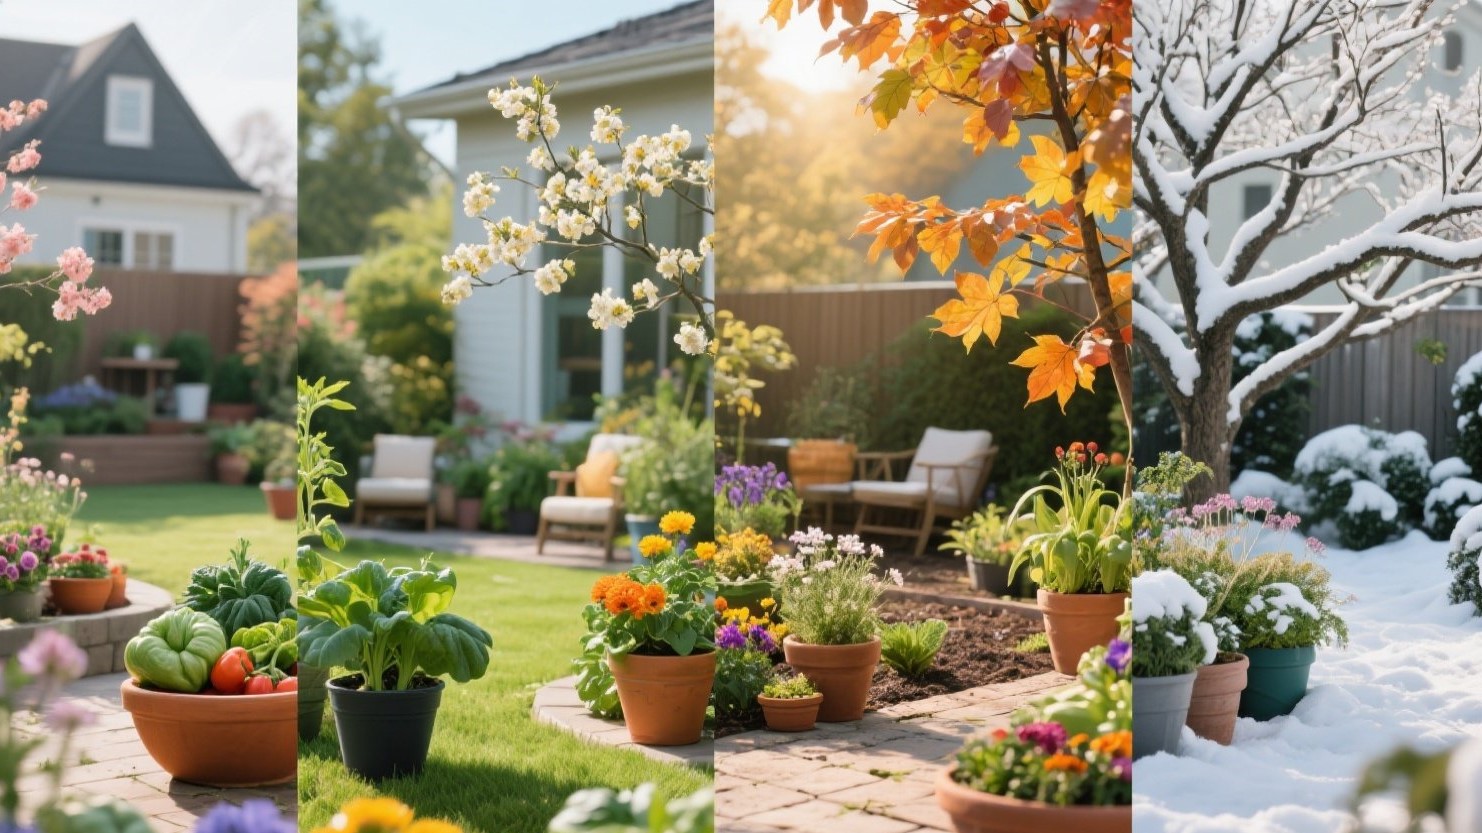
Even when done carefully, timing matters. Repotting during the plant’s active growing season (spring or early summer) increases the chance of survival.
Avoid repotting during:
- Winter dormancy (plants rest and won’t recover quickly)
- Flowering periods (diverts energy from blooms to healing)
For most houseplants, every 12–18 months is ideal. Root-bound plants may show roots coming out of the drainage holes — that’s your signal to repot.
🌻 Final Thoughts: Repotting Is an Act of Renewal — Not Destruction
It’s easy to feel defeated when a plant wilts after repotting, but remember — it’s a normal part of plant adjustment. The key is patience and proper care.
Repotting gives your plant fresh nutrients, more space, and renewed life. Think of it as a reset, not a failure. 🌿
By learning to recognize stress signs early and adjusting your technique, you’ll soon master the balance between nurturing and disturbing — giving your plants the best chance to thrive in their new homes.